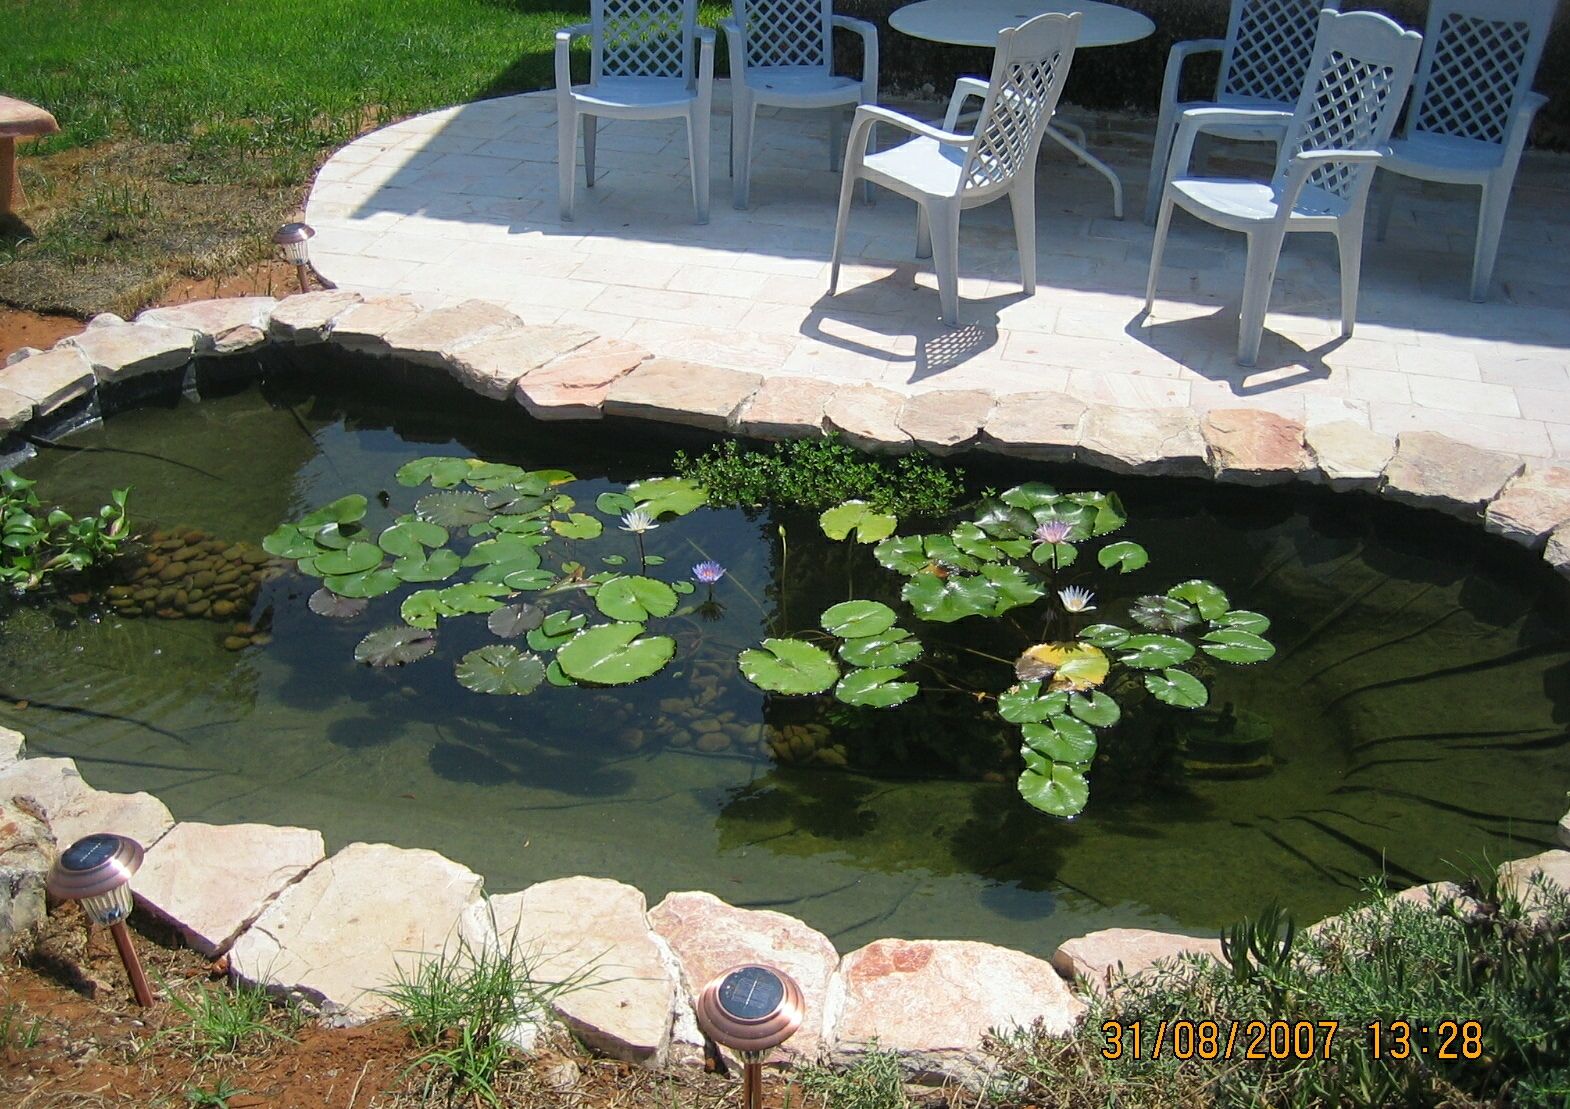
My summer 2007 project was to build a 600G/2000L fish pond in my backyard. Since I had a contractor coming to build a patio and do some brickwork and gardening renovations anyway, I decided to take this opportunity and build a smallish pond. My wife and kids think I am nuts, but I enjoy it.
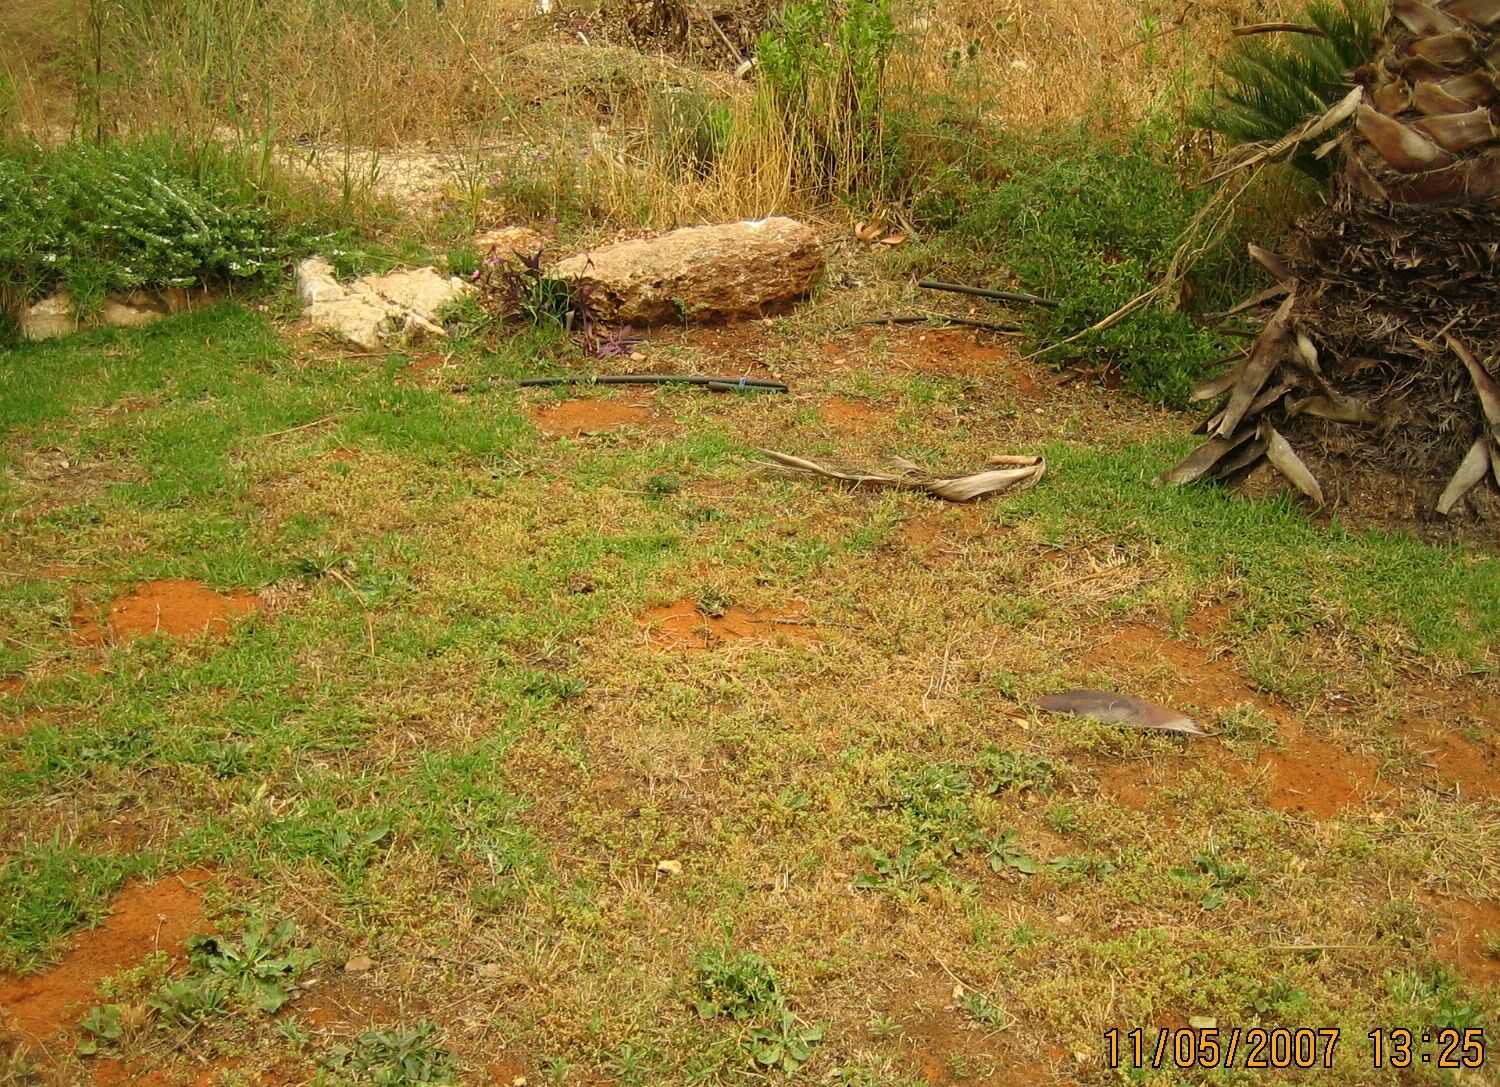
Here is a picture before we started on May 11, 2007.
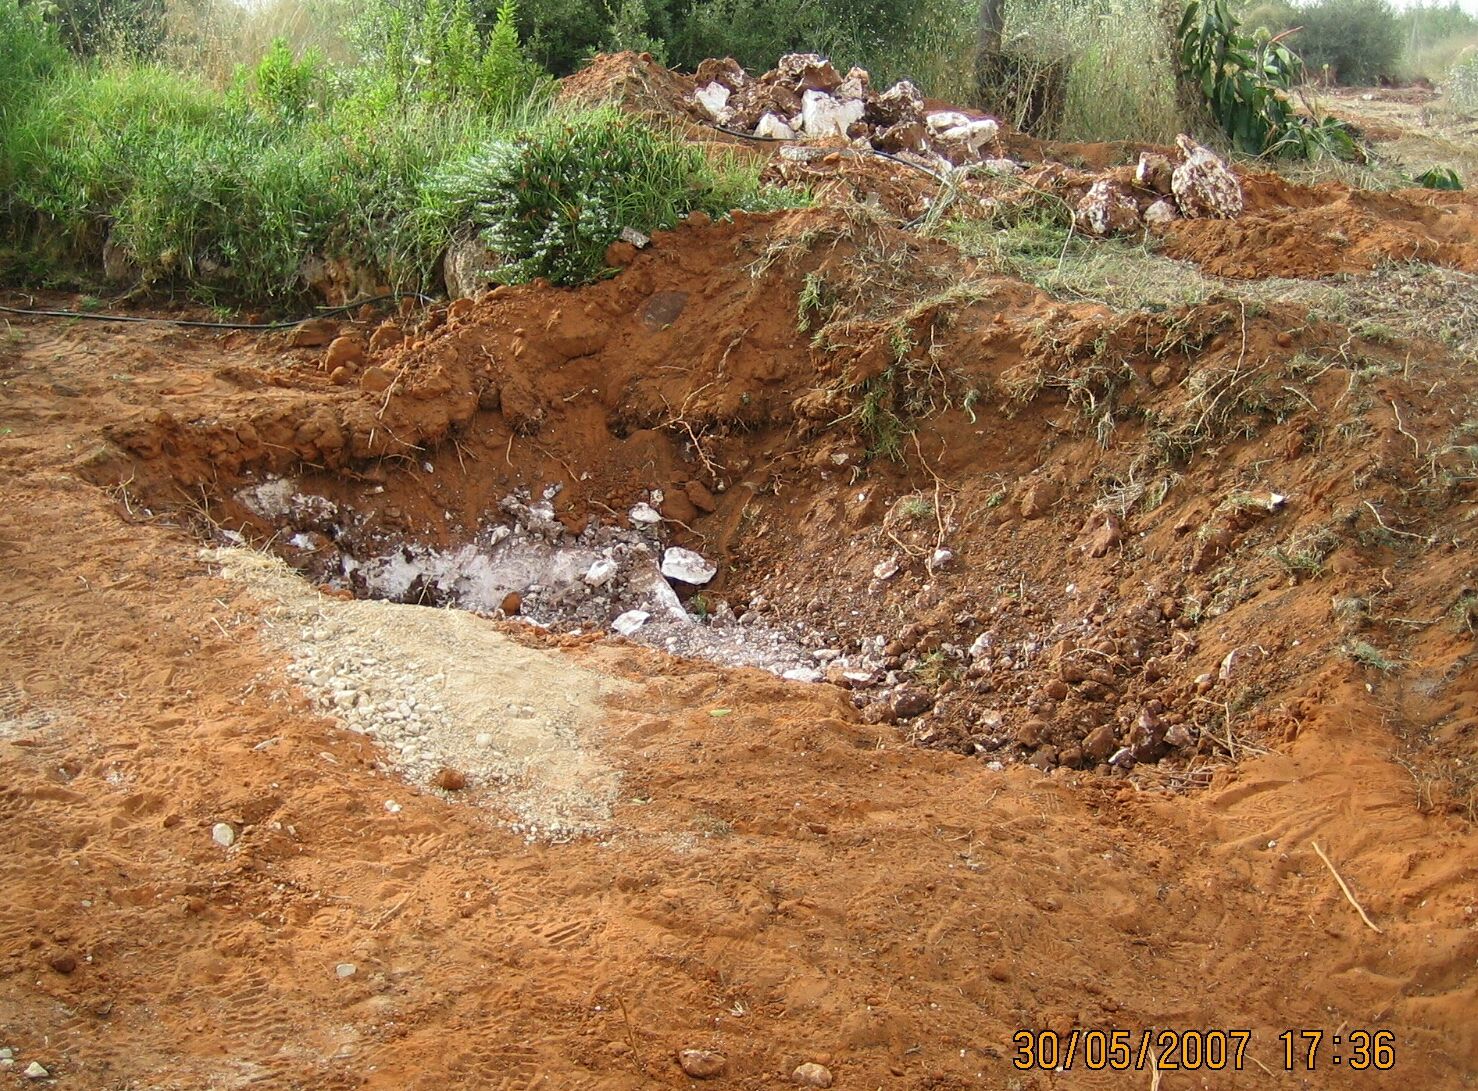
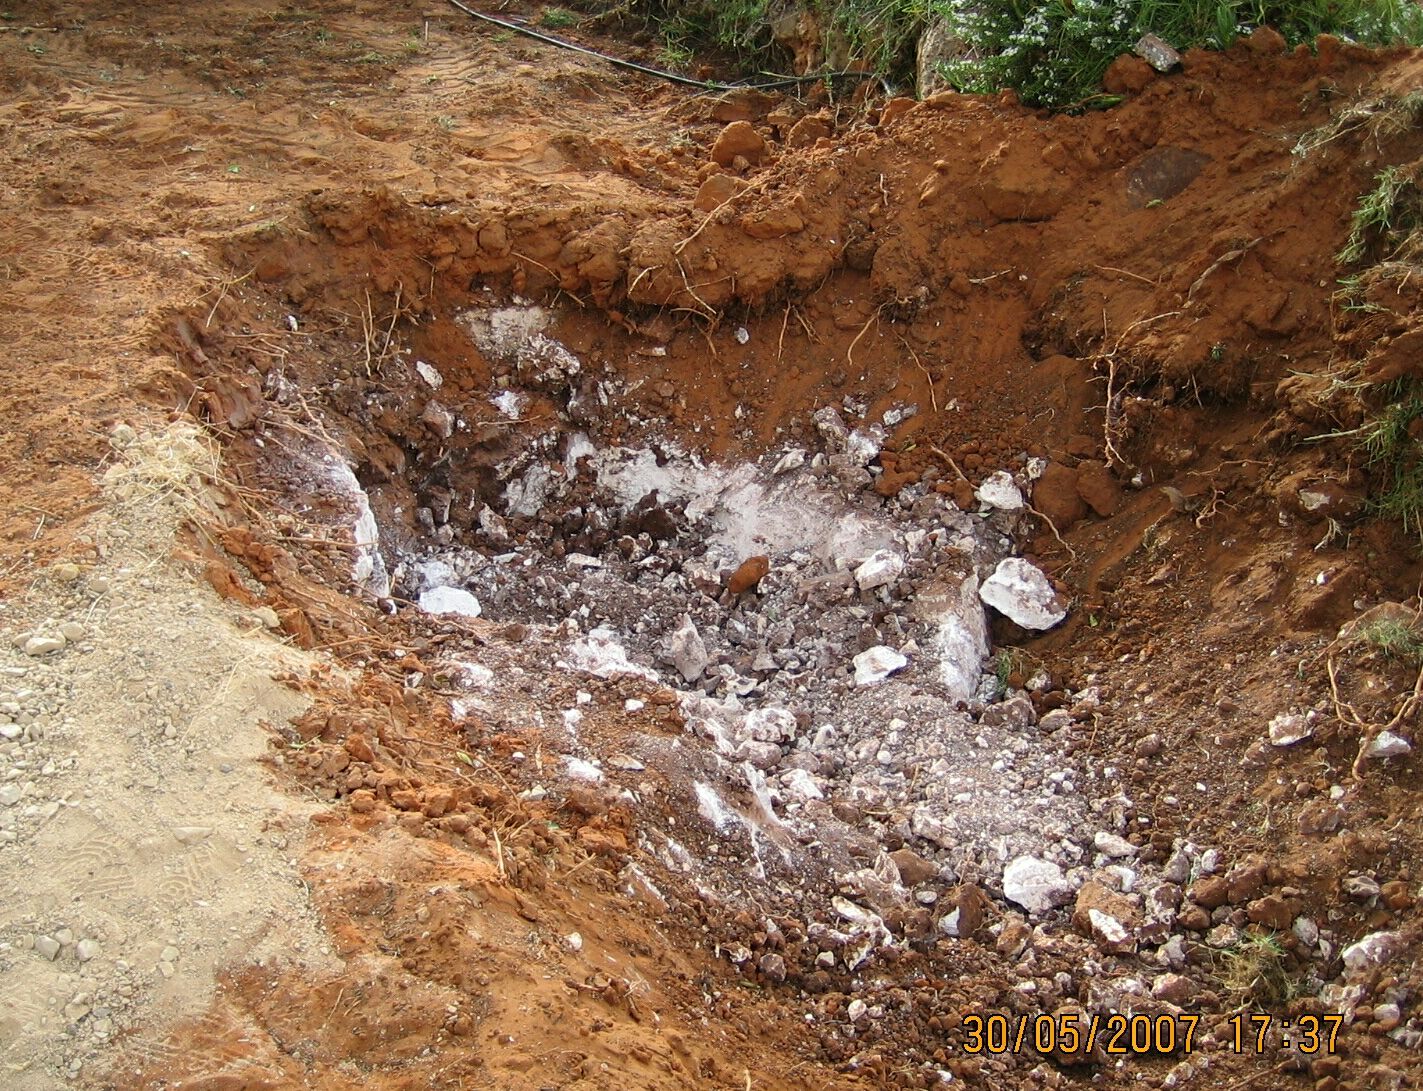
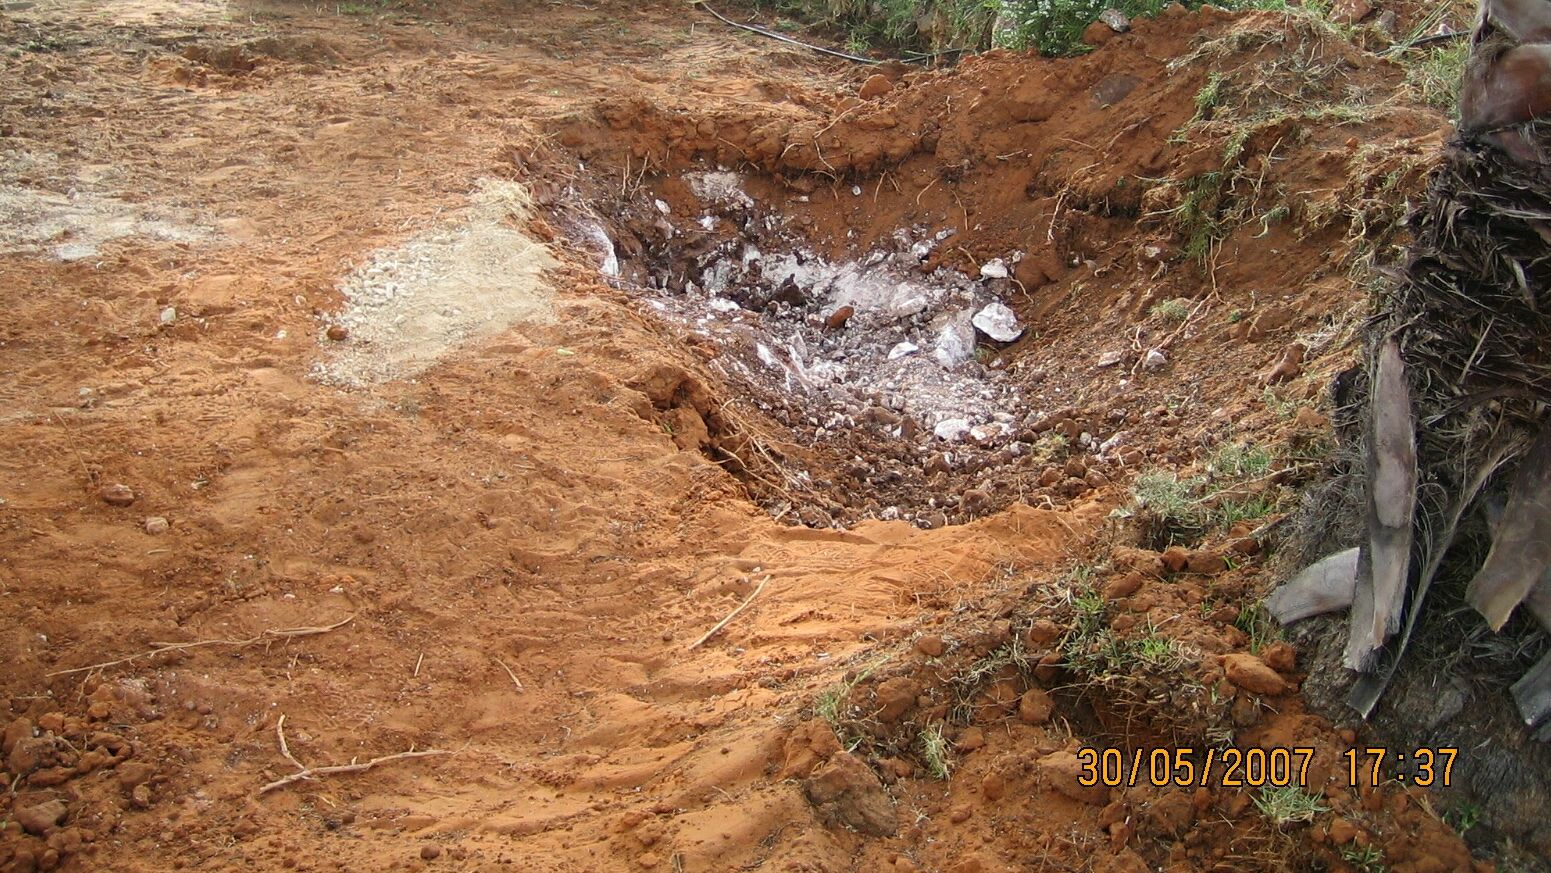
Where I live it is not easy to dig down since we sit on bedrock. Therefore I had to bring in a backhoe and chip away at the rock under the 20cm of topsoil. The deep end will be about 70cm and the shallow end about 30cm. The oval pond is to be about 1.7 meters wide and about 3.5 meters long with a rock waterfall of about 1 meter in height.
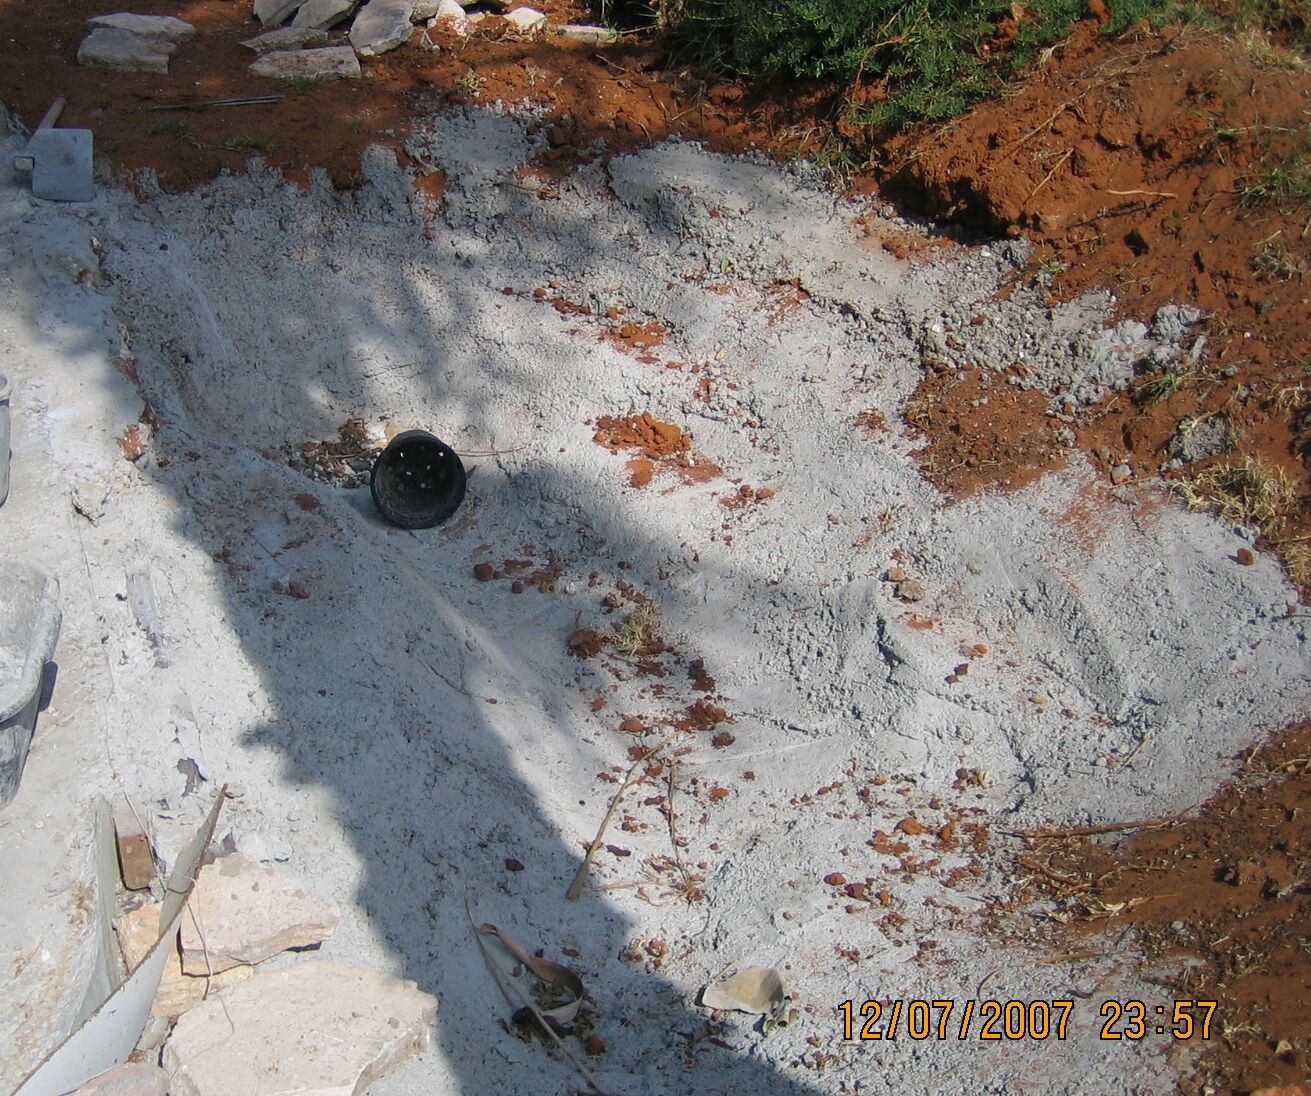
Here are a few pictures after the backhoe finished its work on May 30, 2007.
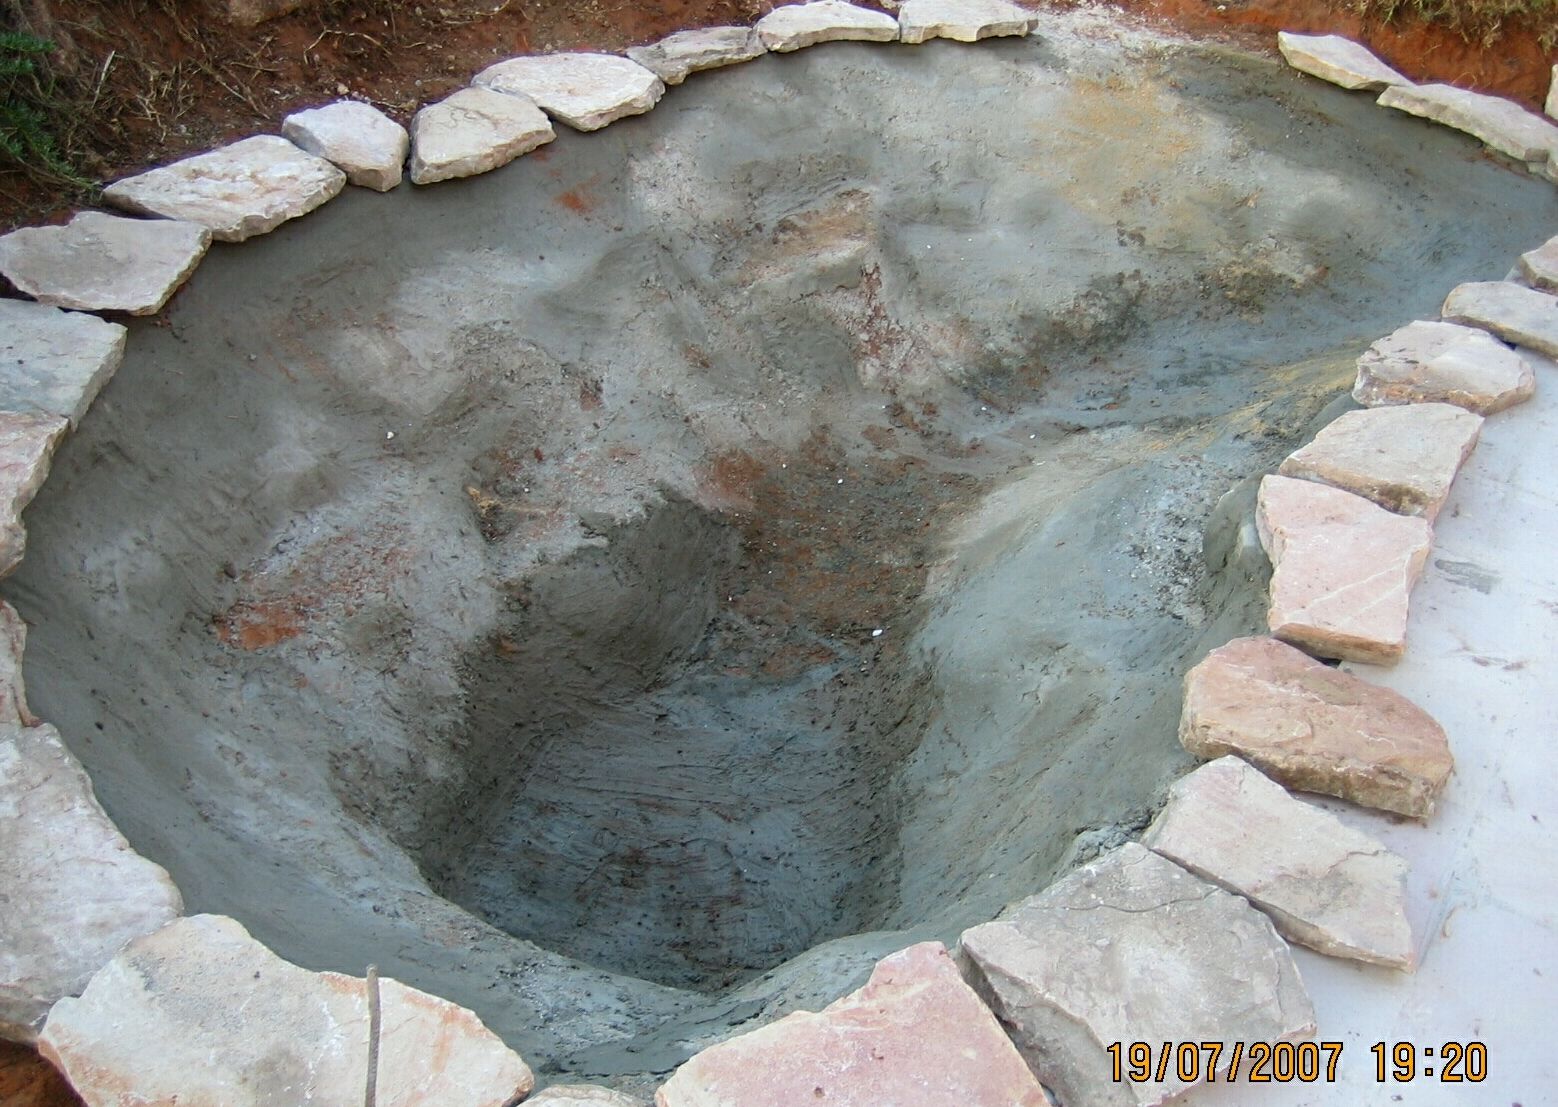
After smoothing out the walls, here is a picture from July 19 where one
can see the general shape of the pond as well as the planned rock edging that
will be used once the liner is in place. The size of the pond is now
1.8 meters across (6 feet), 3.5 meters (11.5 feet) long, with a depth
ranging from 70 cm (2.3 feet) to around 30 cm (1 foot).
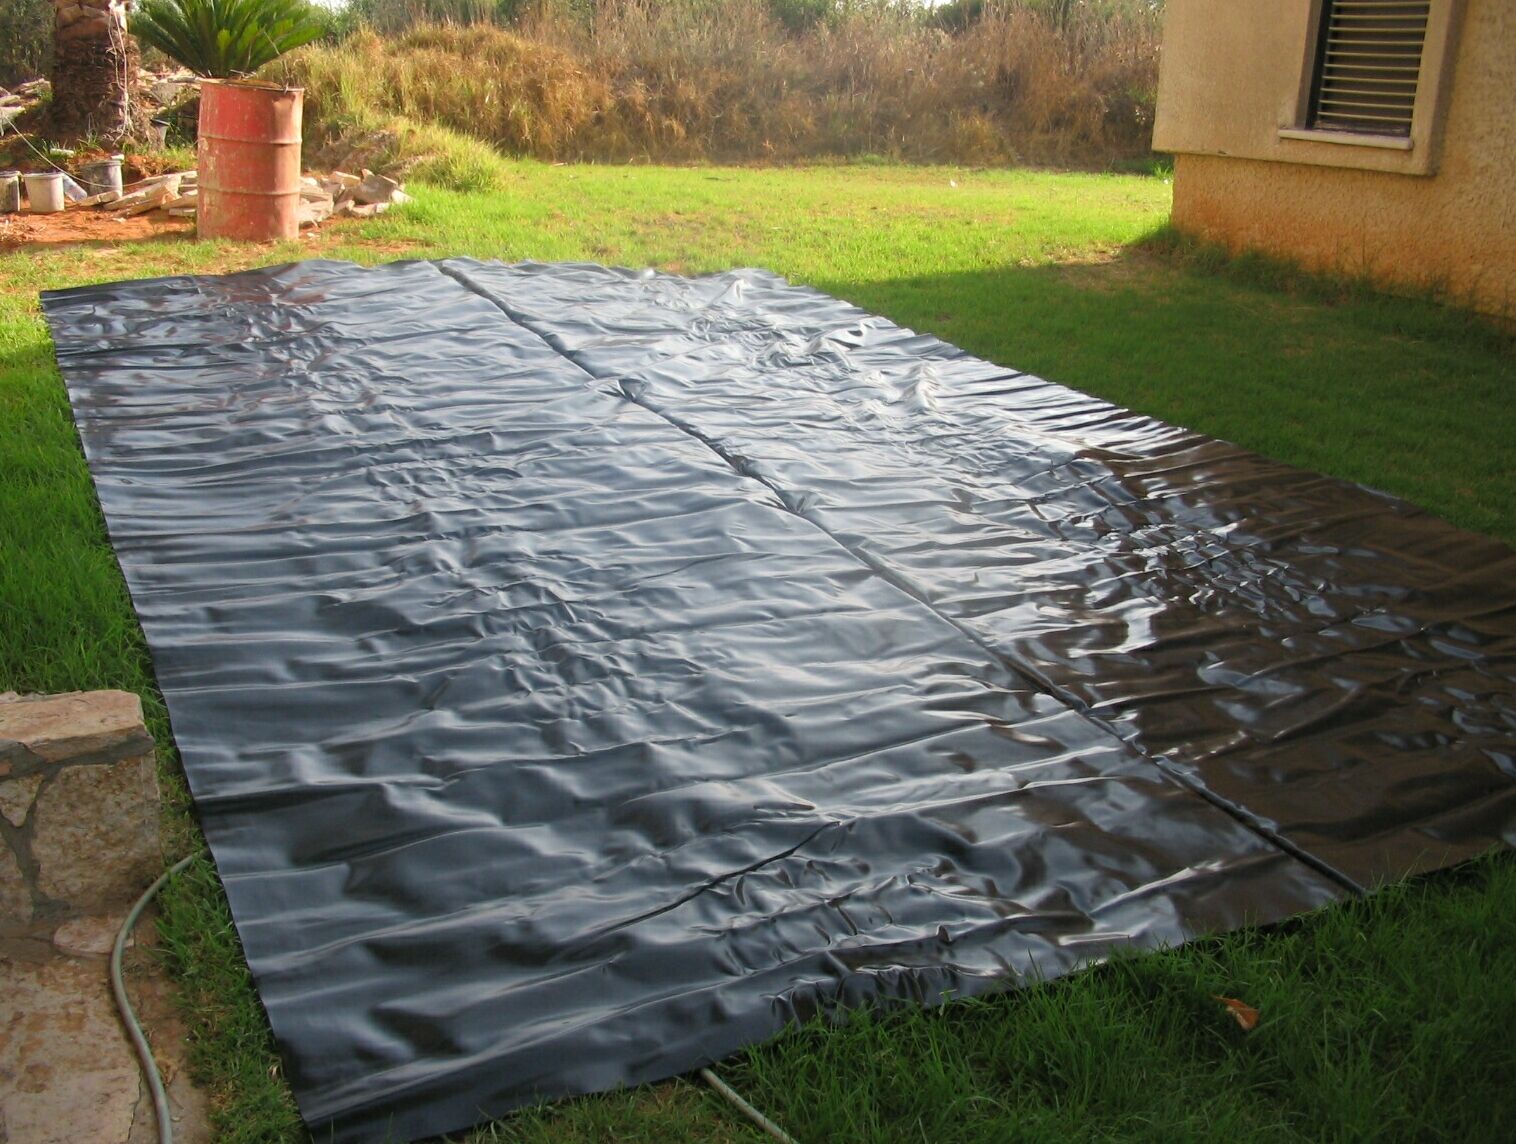
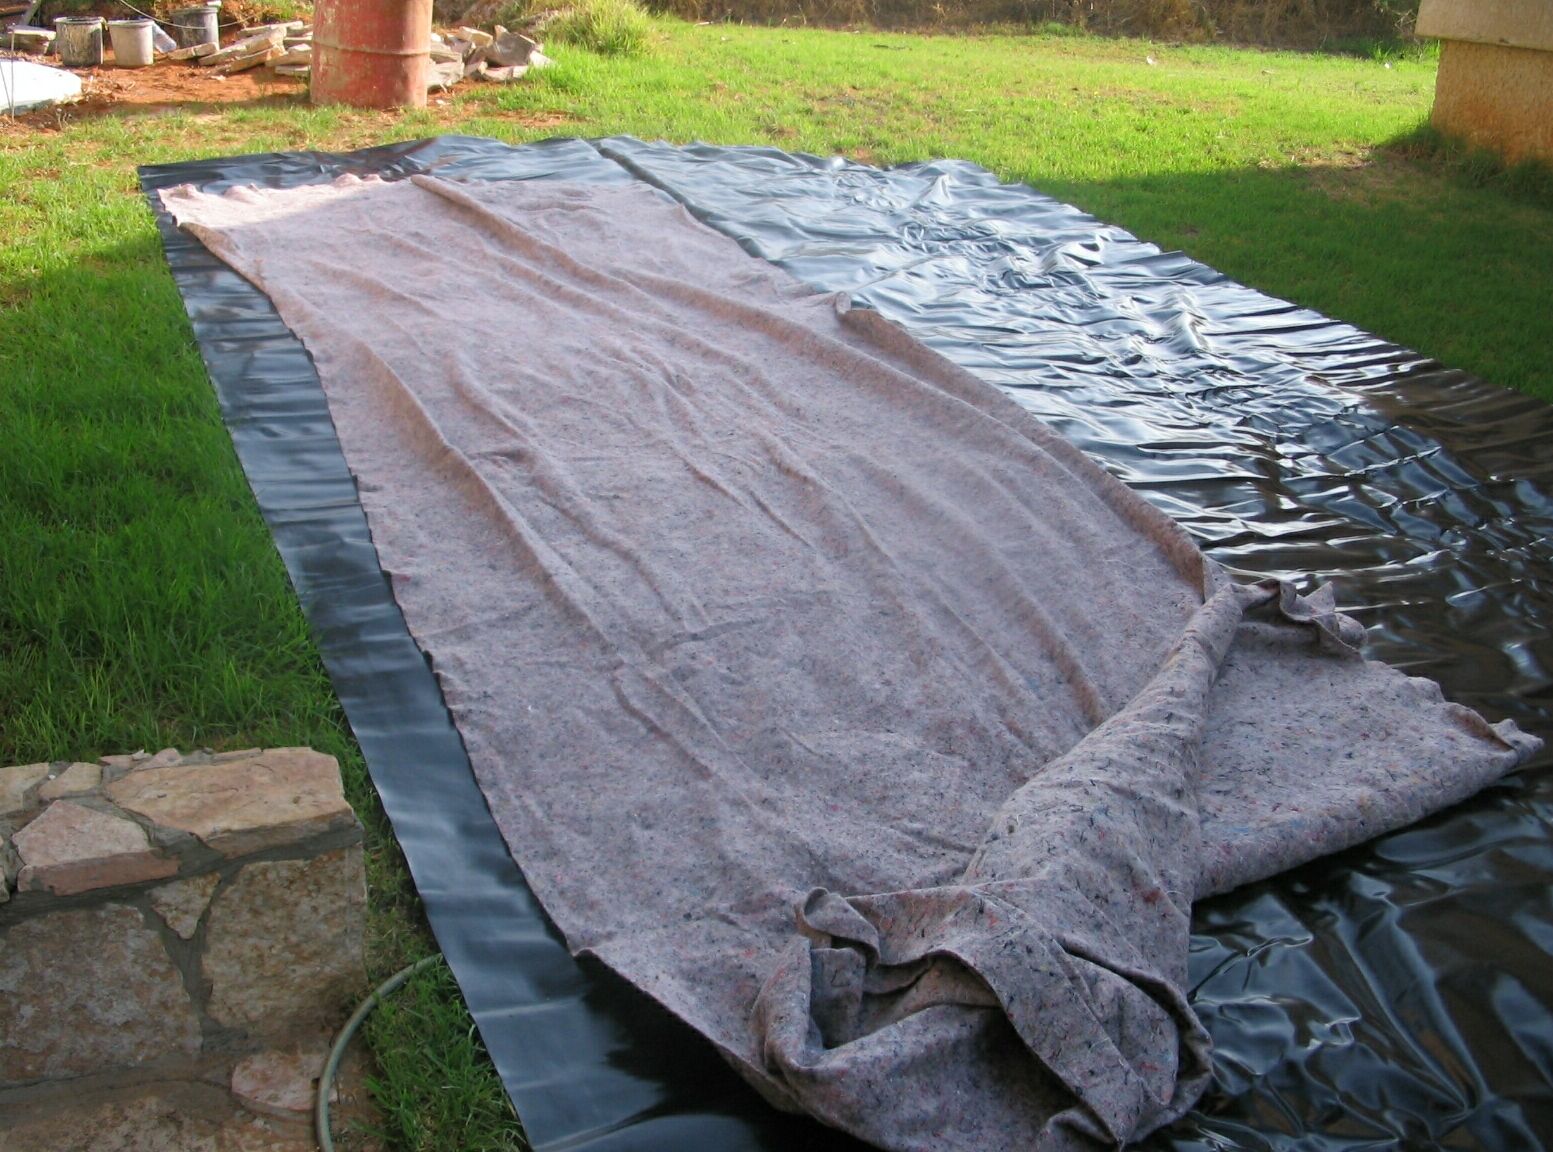
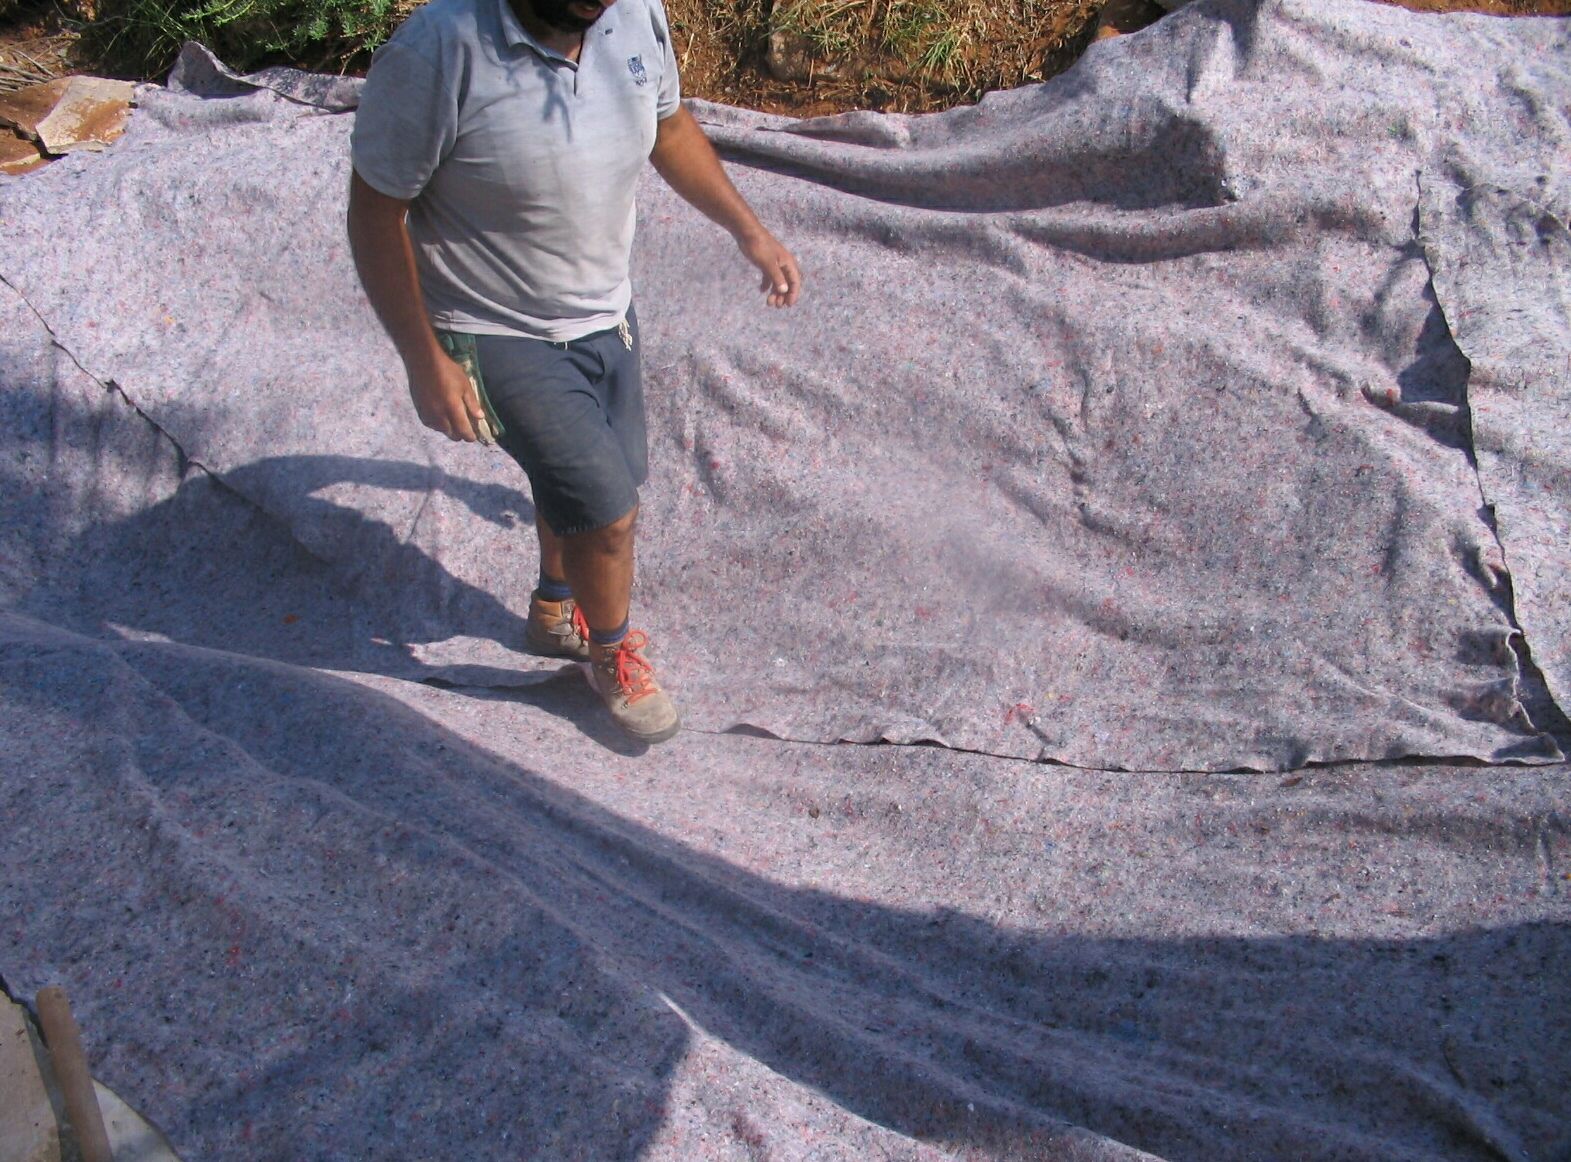
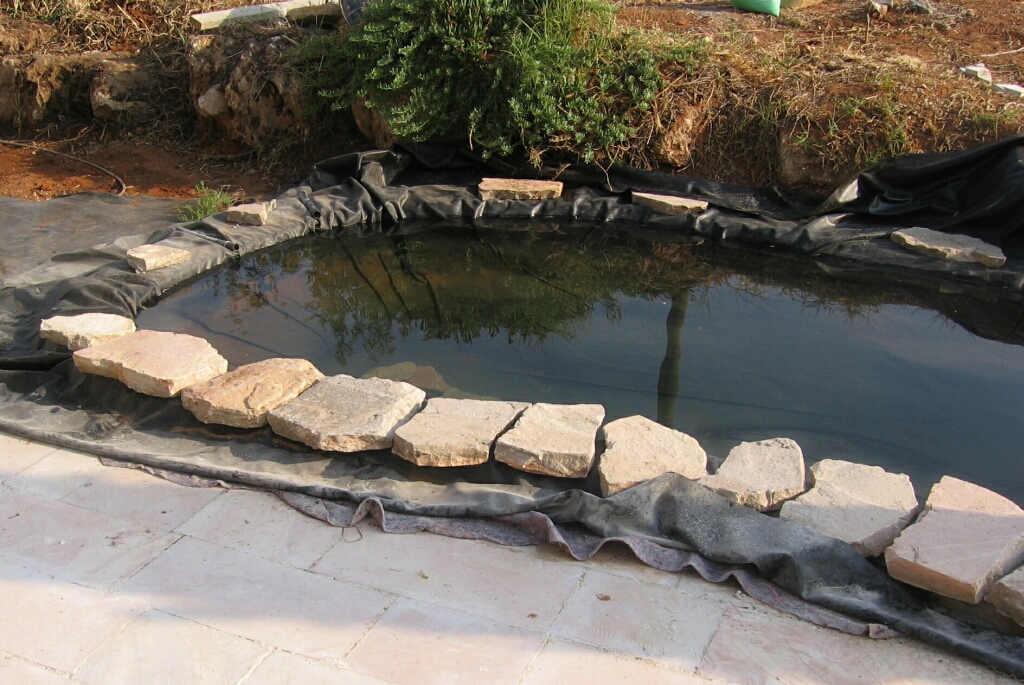
Here is a picture with the felt-like underlay laying on top of the PVC and then laid
out inside the concrete structure of the pond.
Next came the gradual filling of the water which took about 40 minutes.
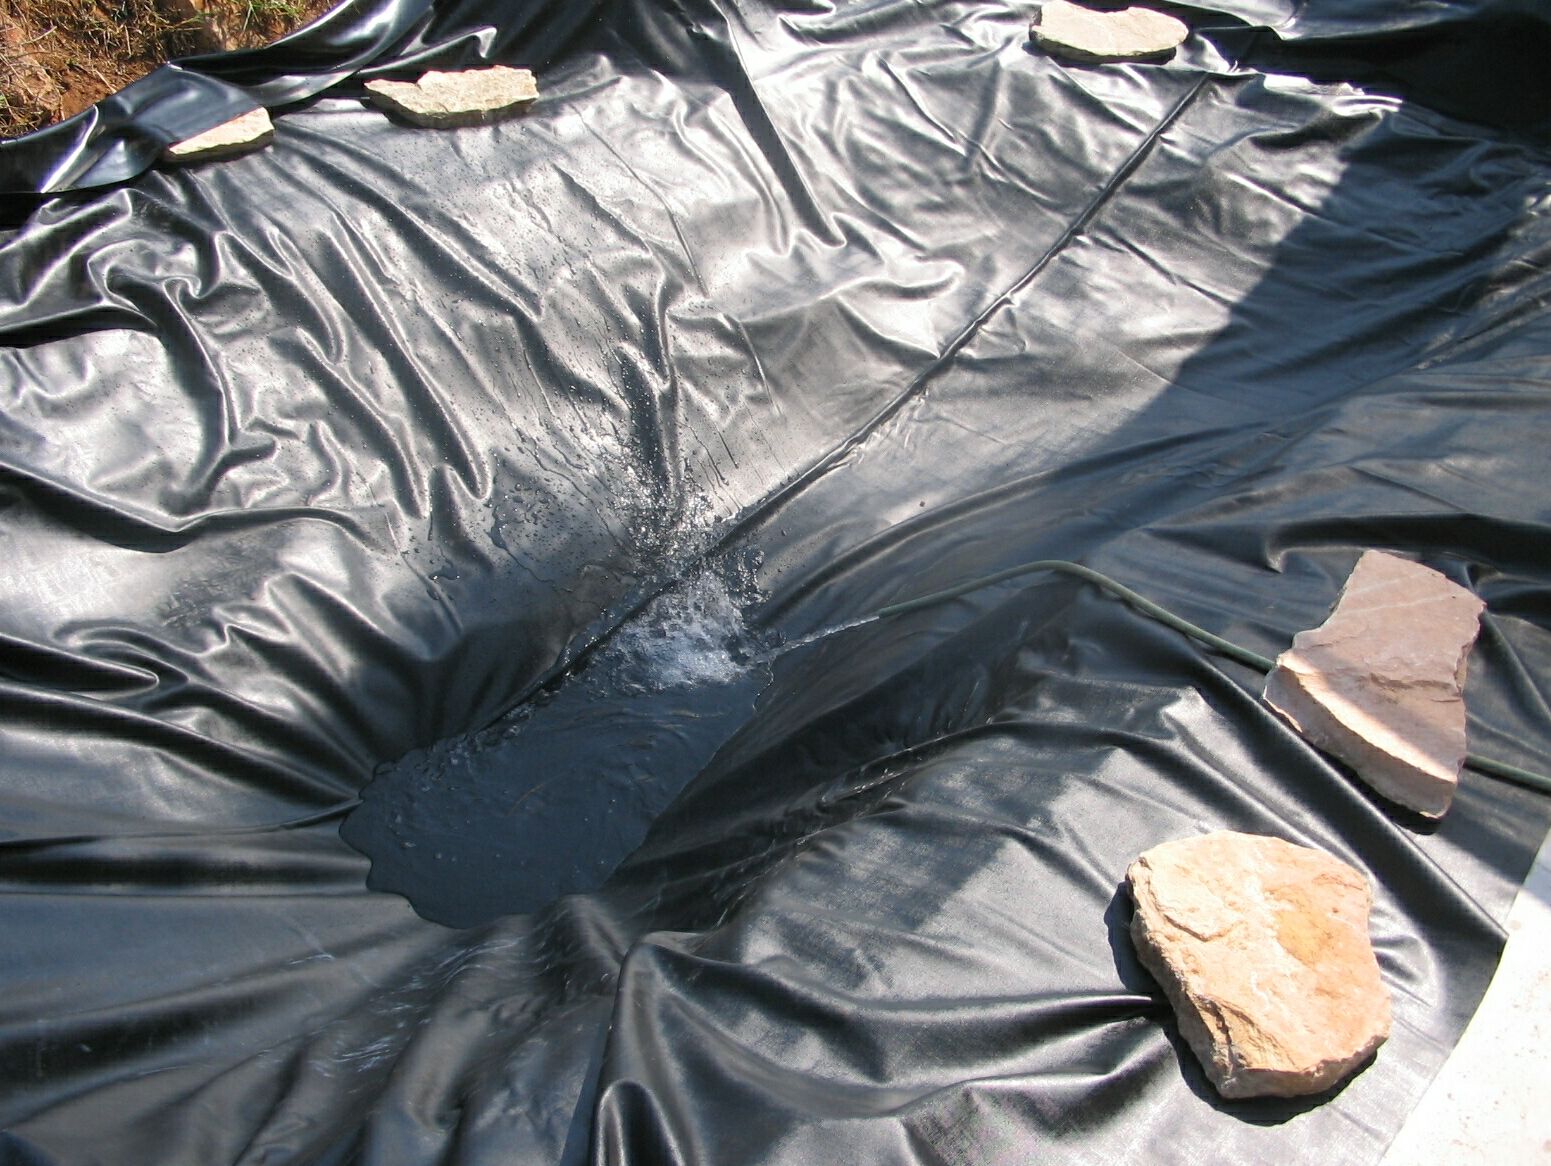
Unfortunately, I had planned the maximum depth to be 80cm, and by the time we hit 65cm, the water was at the top edge. I had told the contractor that the edging needed to be higher and with a slightly raised lip of 8-10 cm.
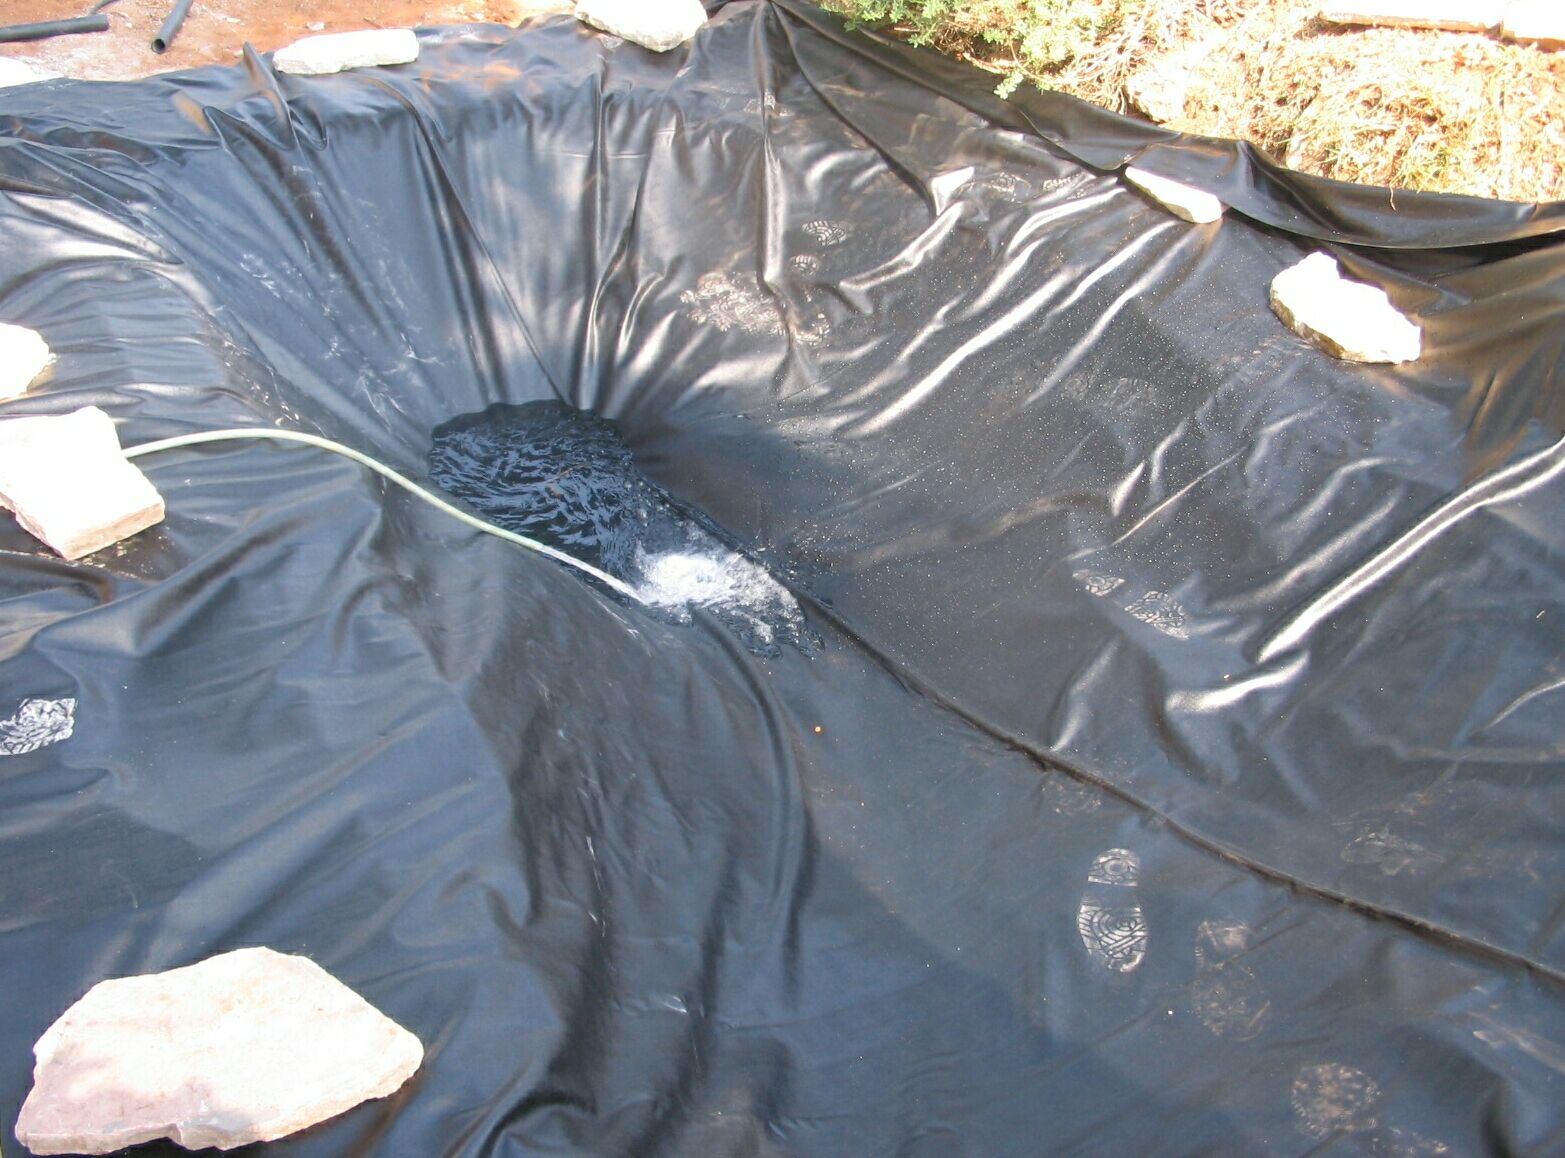
So we stopped the water and he added sand that shifted easily under the PVC. After we added 2 more centimeters of water he decided to add rocks and cement under the liner to raise the edge. I had to leave and when I came back I was not pleased with the sharp edges from under the liner nor with the level of the siding. So over the next few days we undid the work he did, and we worked together to fix up all the edging by draining 5cm of water, folding back the PVC and exposing the edging and fixing it with cement. It now has a variable height (5-12cm) concrete border.
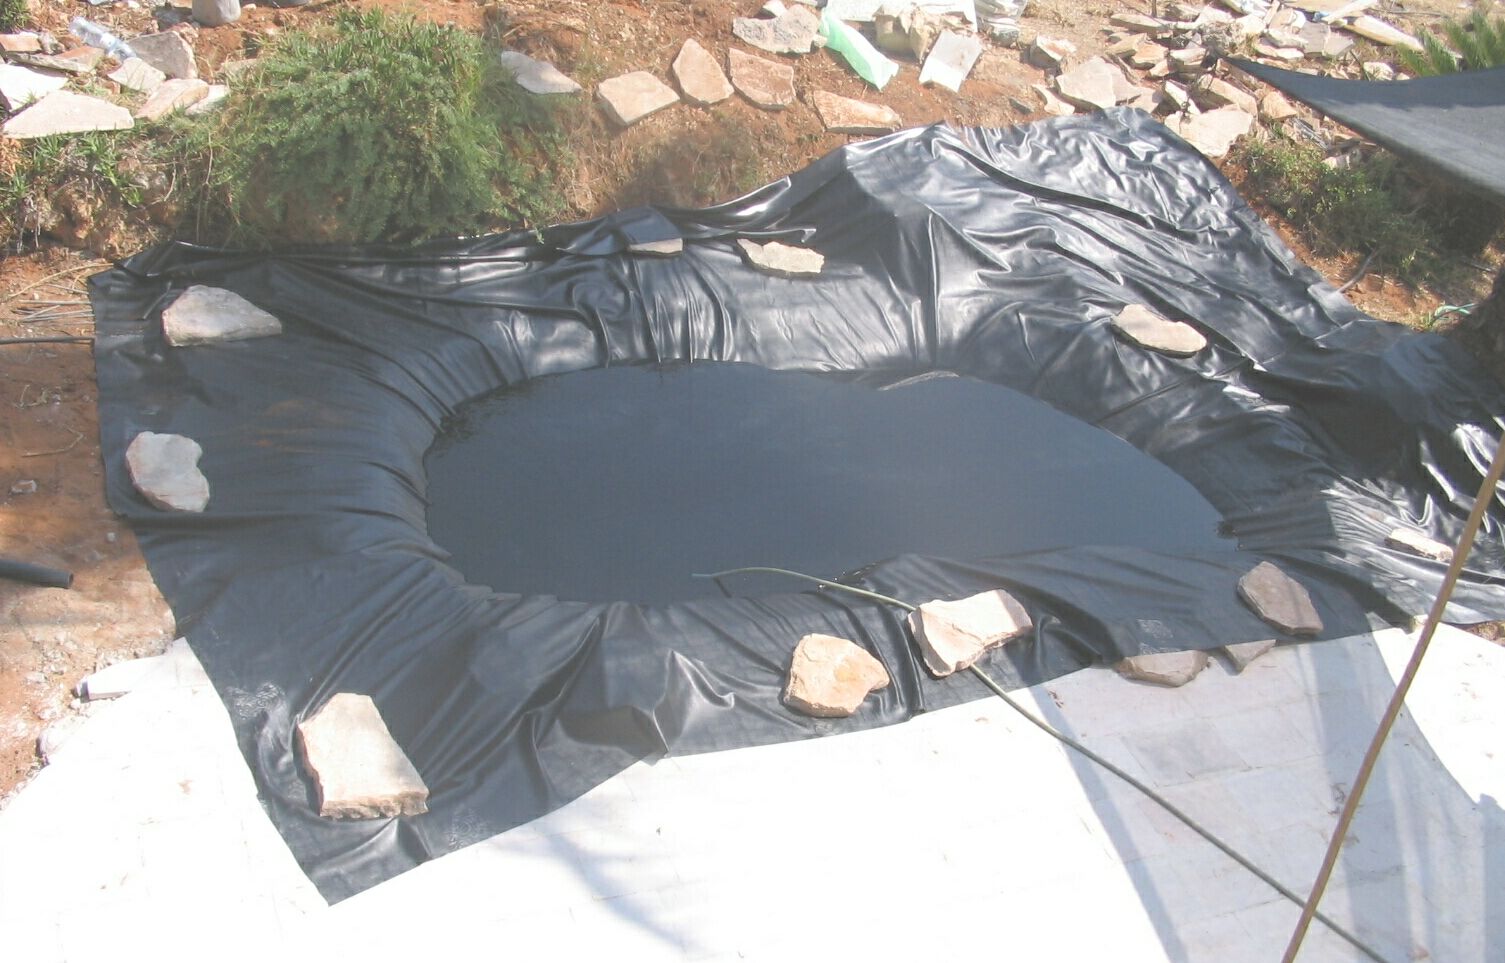
Here is a picture from the end of the day from July 25.

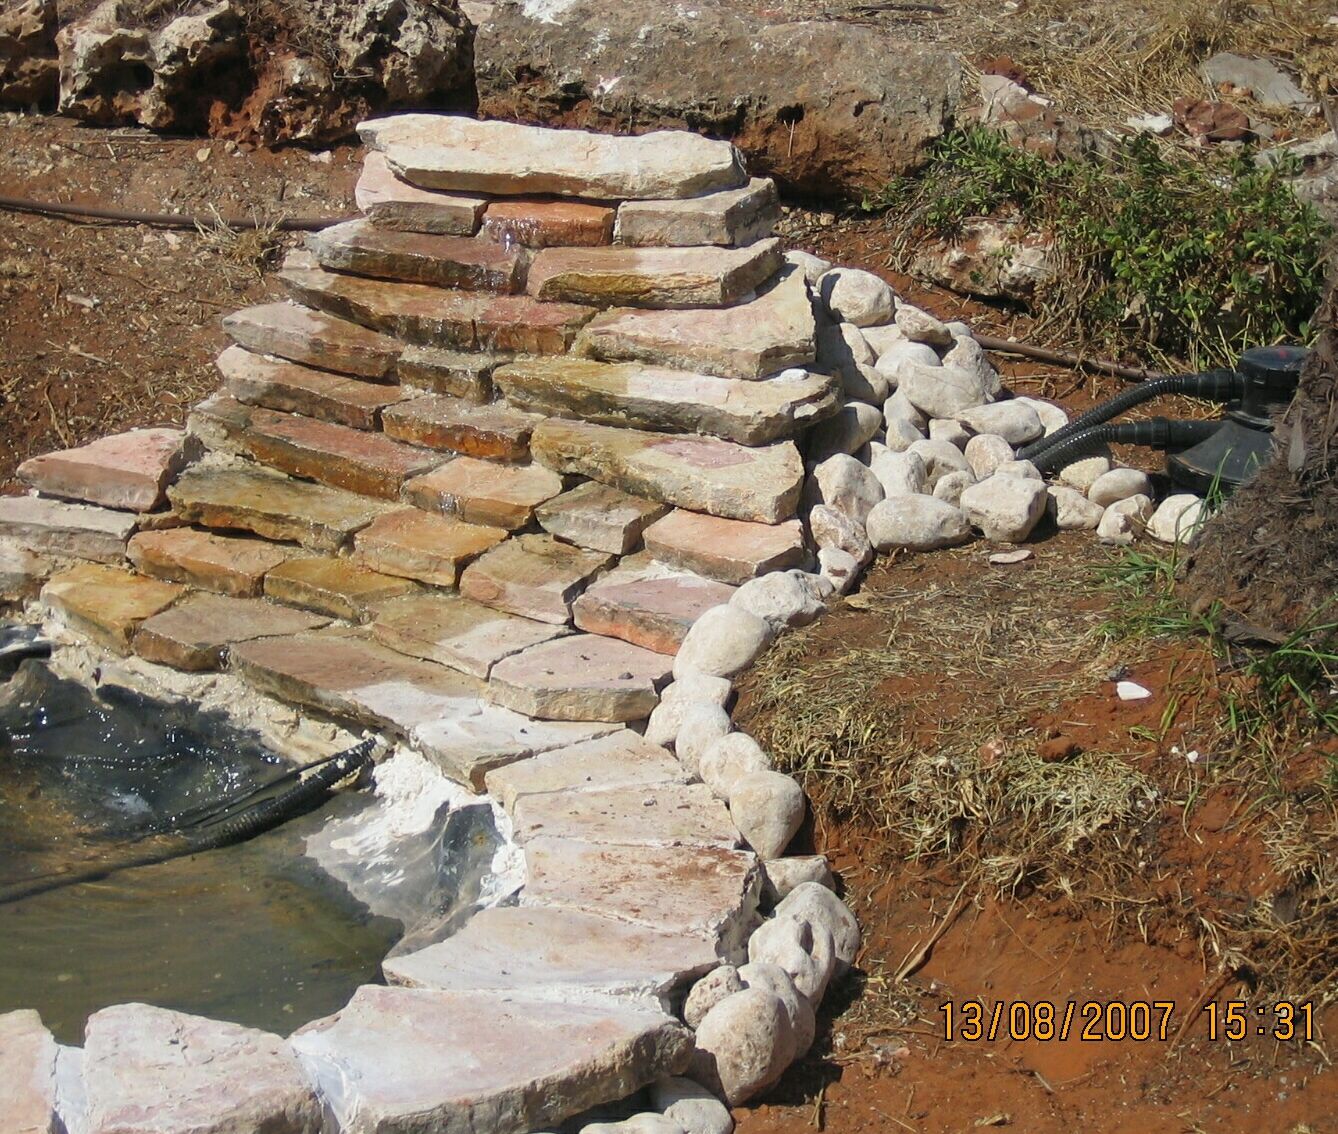
We built the waterfall
using the remaining paving stones. The waterfall is 70cm (2.3 feet) in height from
the water level. One important aspect to remember is to leave enough of the PVC liner
so that it extends to be completely under the waterfall. This was not listed in the
various sites and books when planning a pond but fortunately we realized to do this.
The water that flows/trickles down the waterfall will also seep down to ground level.
If you don't want to lose water by waterfall seepage as well as having consistently
wet soil around the waterfall, best to leave enough liner for the waterfall and
trim the edges after the waterfall is in place.
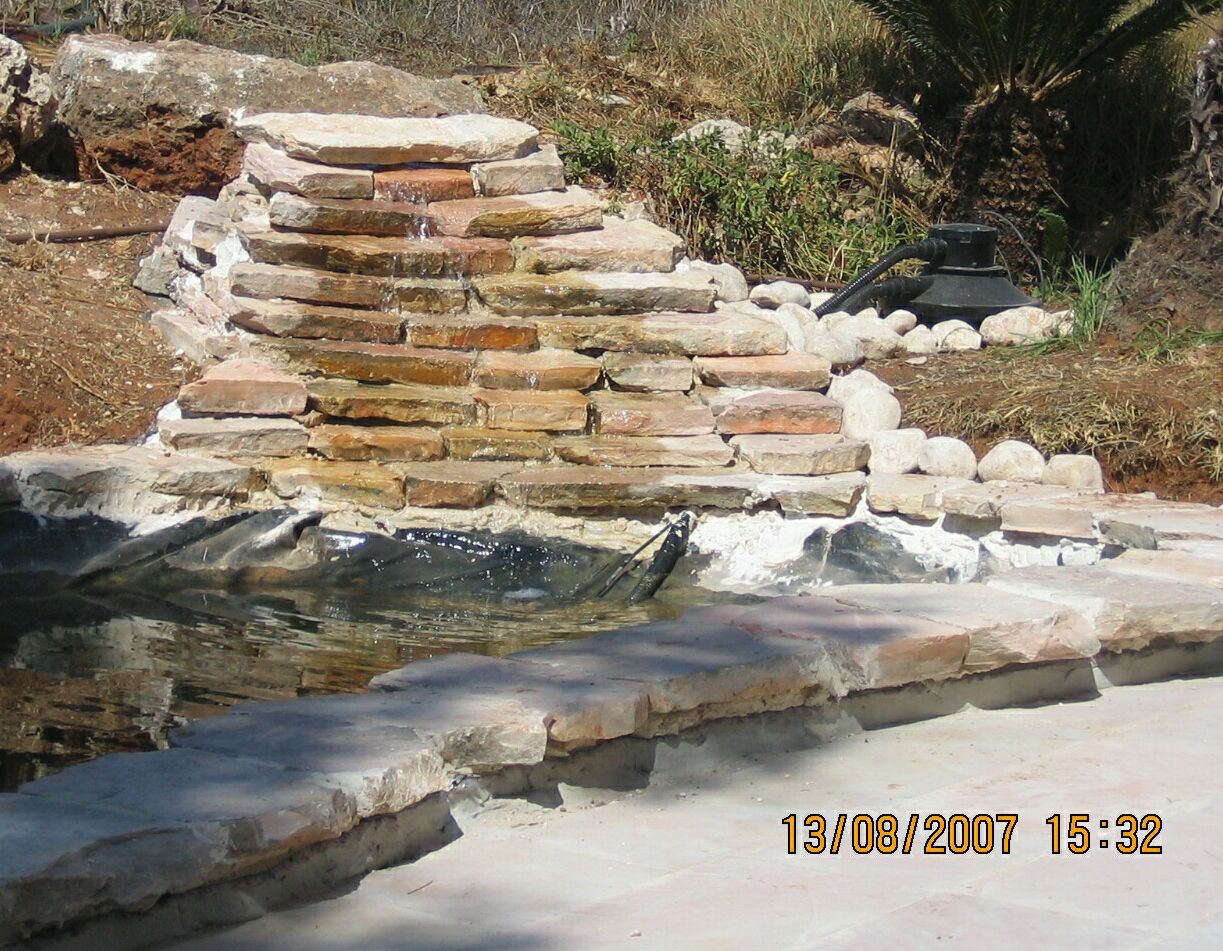
But with all the planning and forethought, I still made a mistake. See if you can spot it in the above two pictures. The electrical cable that runs from the pump to the electrical outlet was simply buried between the PVC liner and the paving stone edging as well as partially under the waterfall. What I should have done is build a narrow cable conduit and snaked the electrical cable through it. Now, when my pump dies in 5 years I will have to cut the cable at both ends, and run a new cable and break the rock edging and put in a proper conduit at the time. This aspect was also never mentioned in any pond setup articles that I have read.
I am not worried about the pump hose being buried as well, since that can be disconnected and be reused by the next pump.
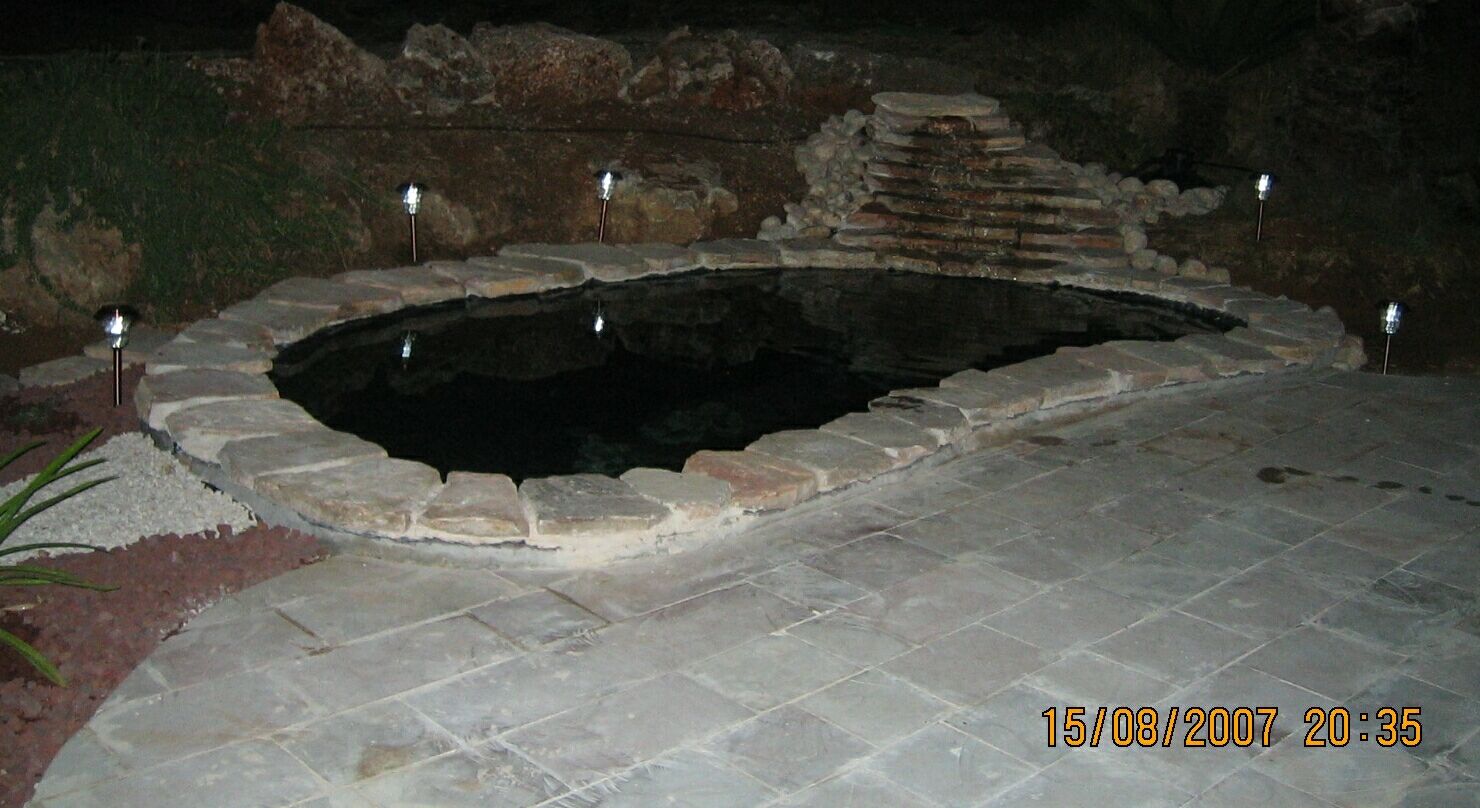
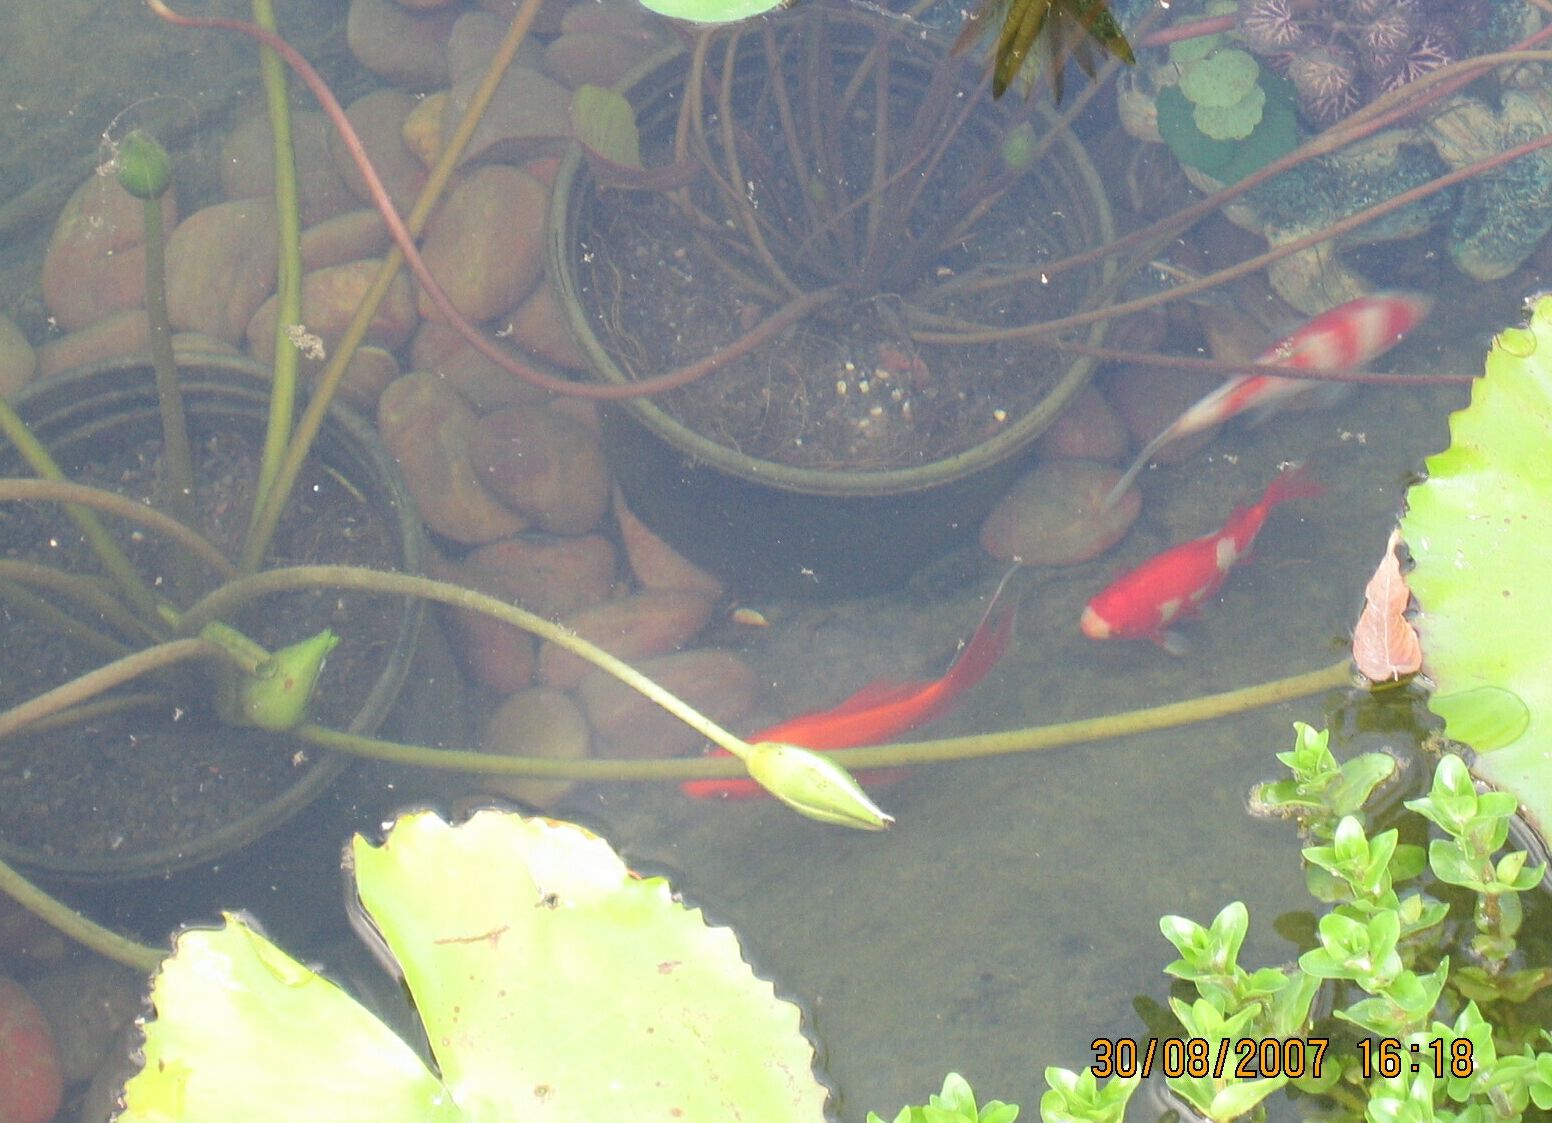
I then added in the 3 plastic tree trunks and the 80kg of riverbed rocks (see below) and
refilled the pond. Here is a picture from at night:
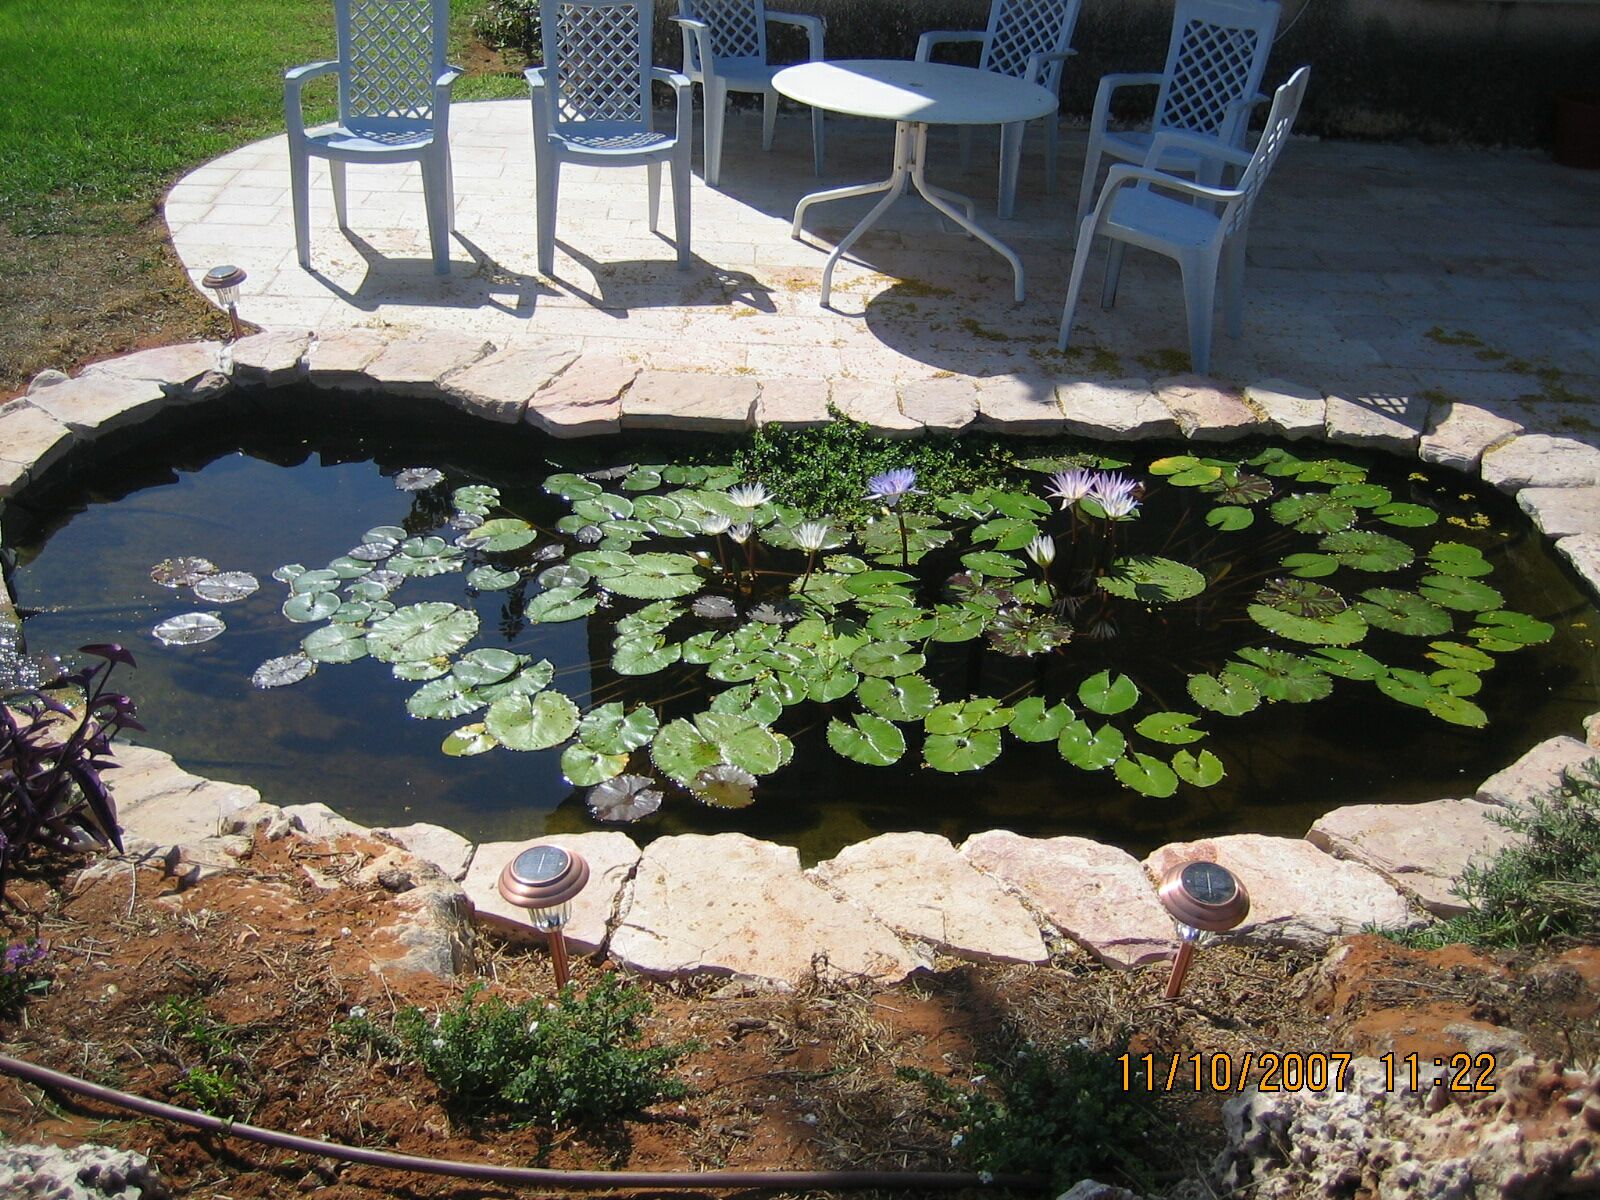 oct11-pond1.jpg |
 oct12-cae.jpg |
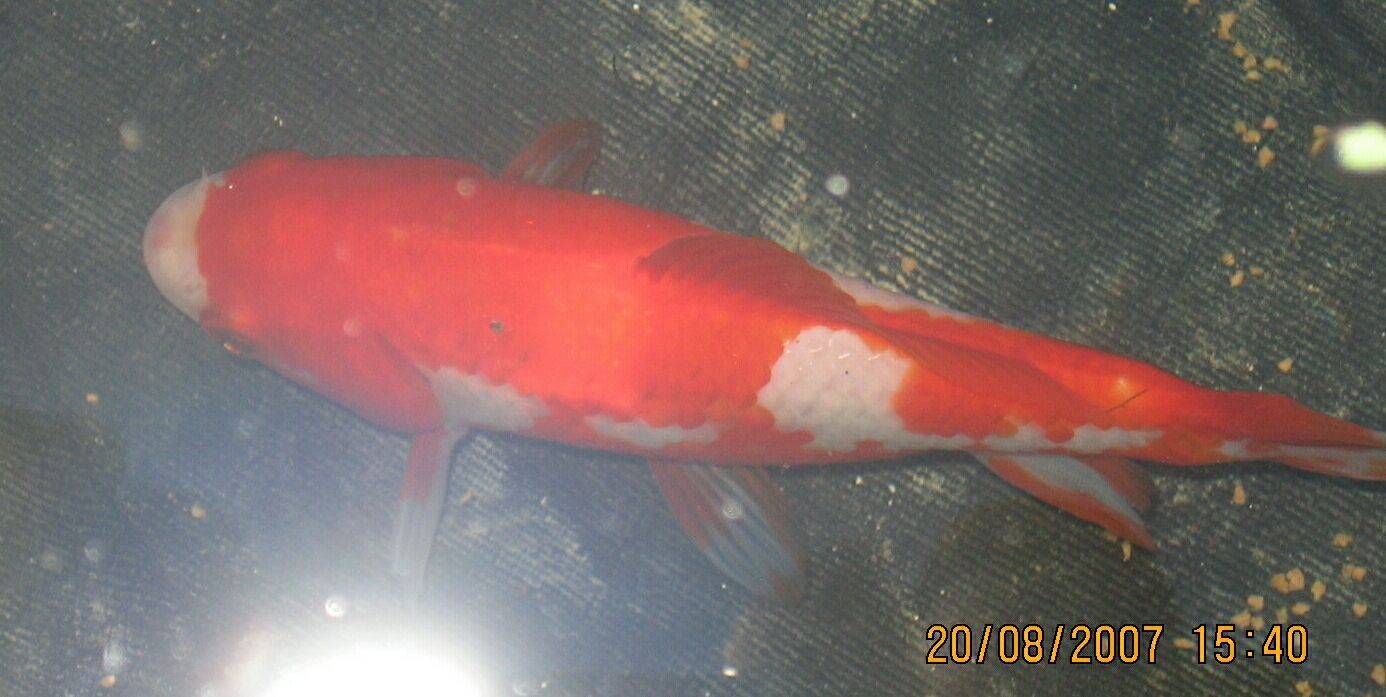
 oct12-koi1.jpg |
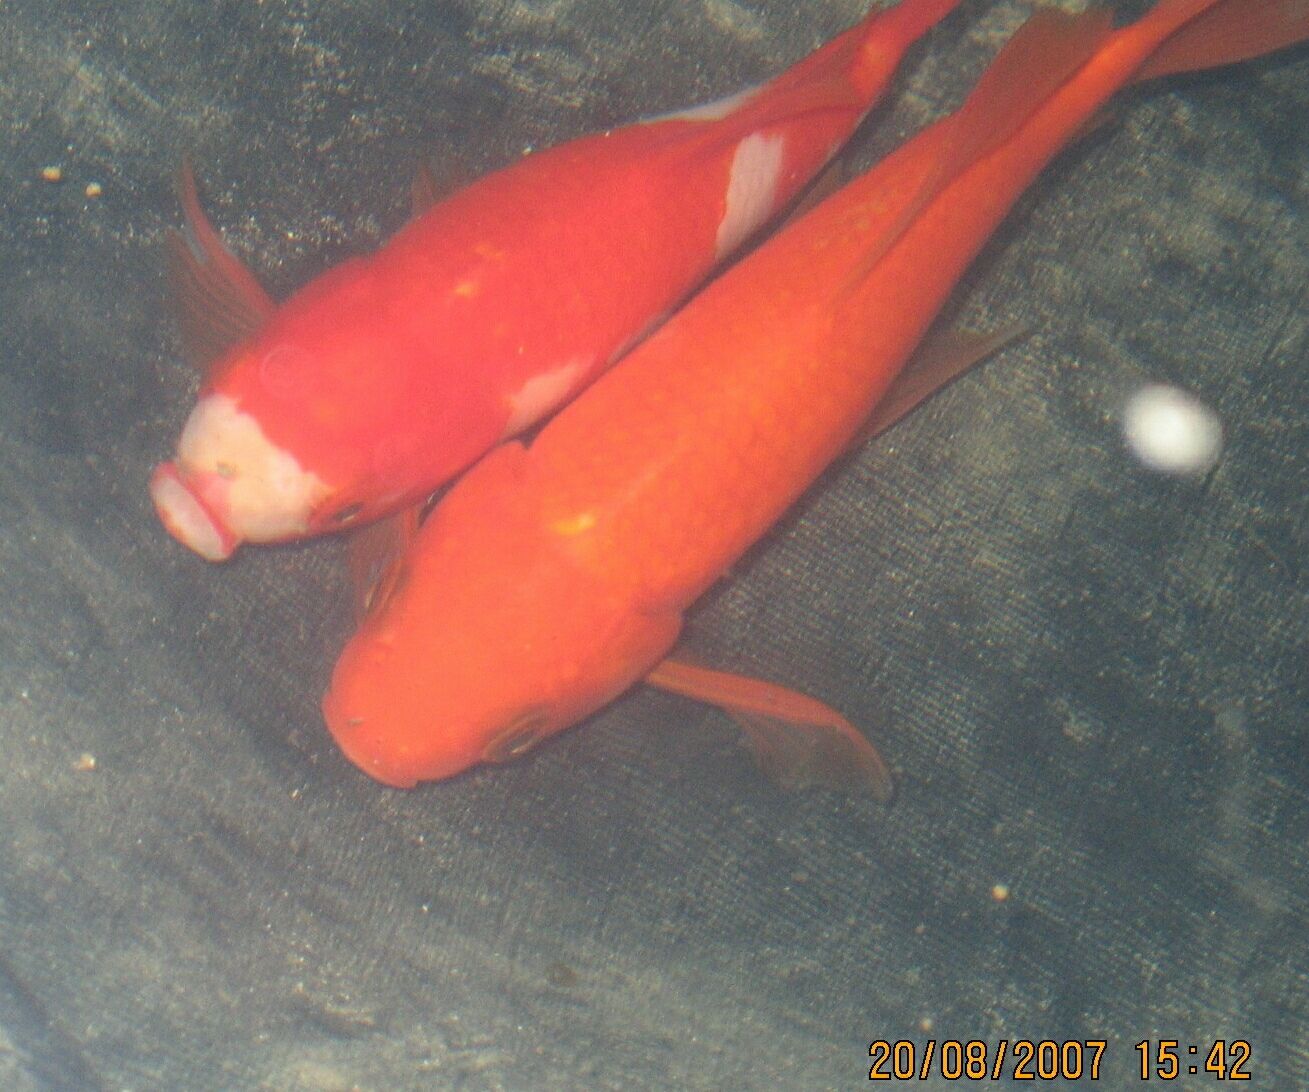
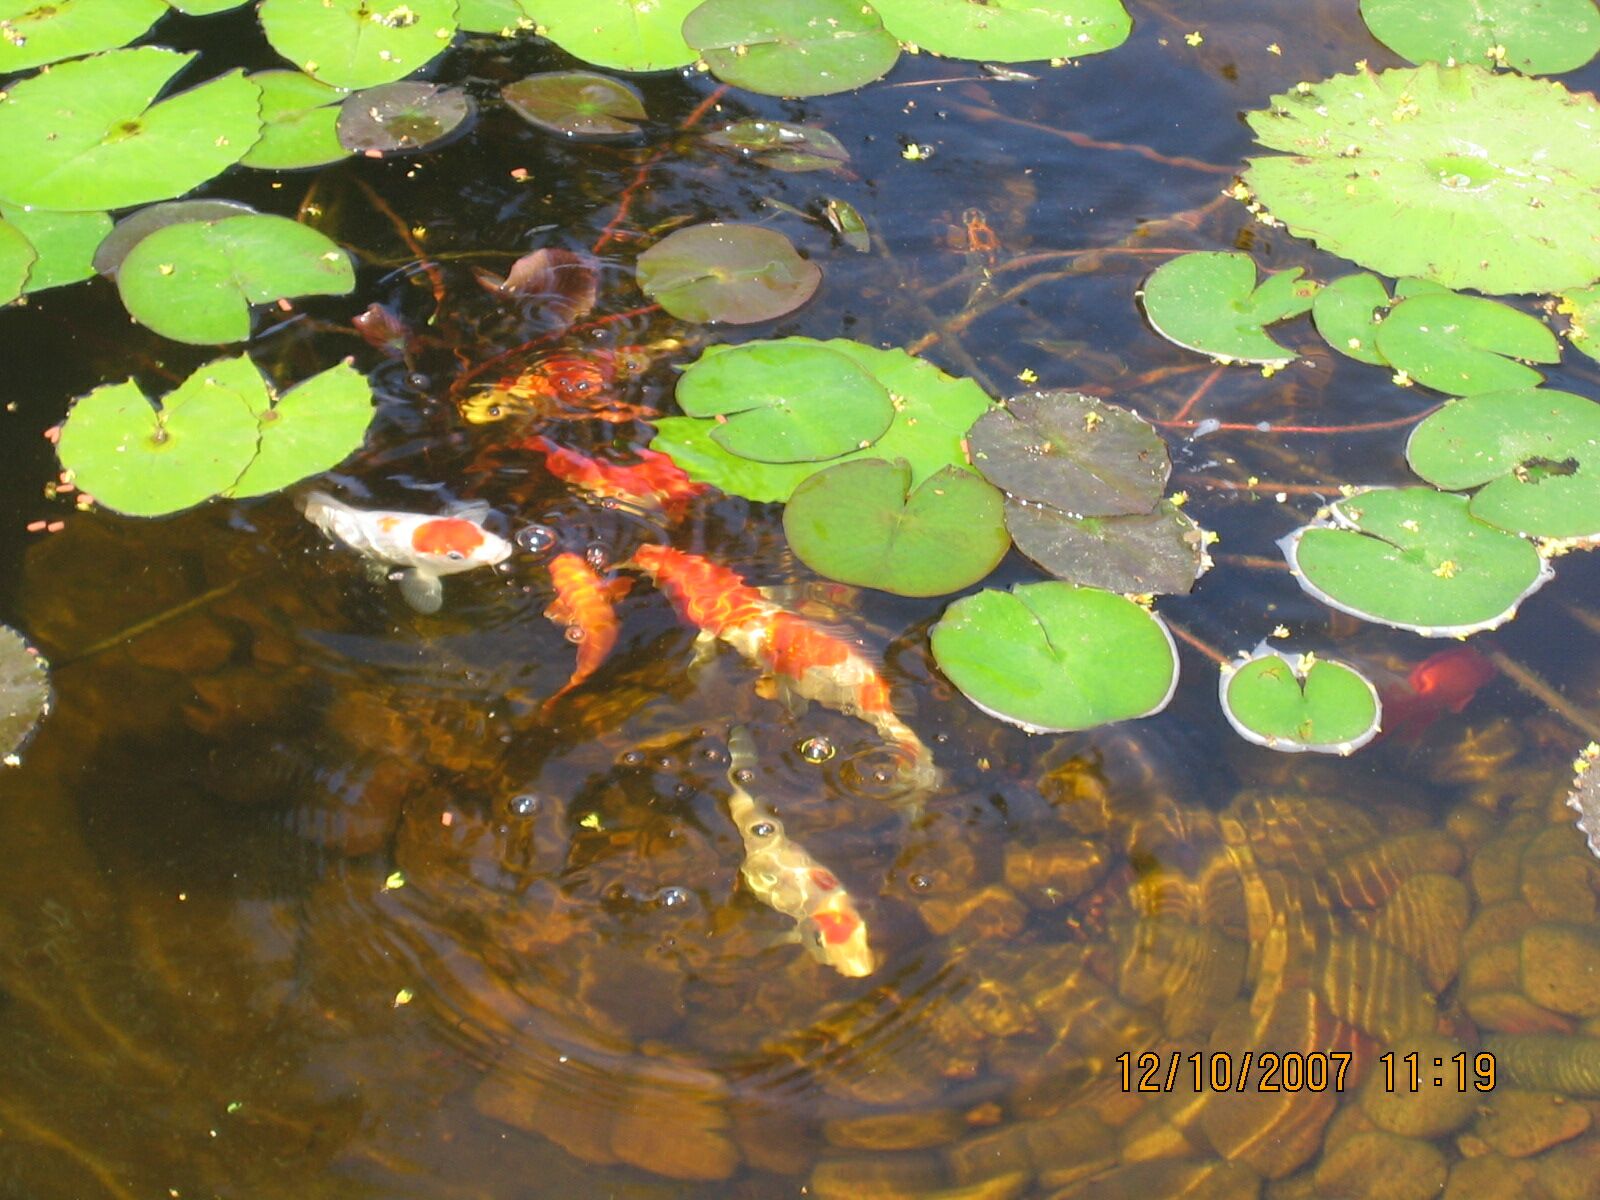 oct12-koi2.jpg |
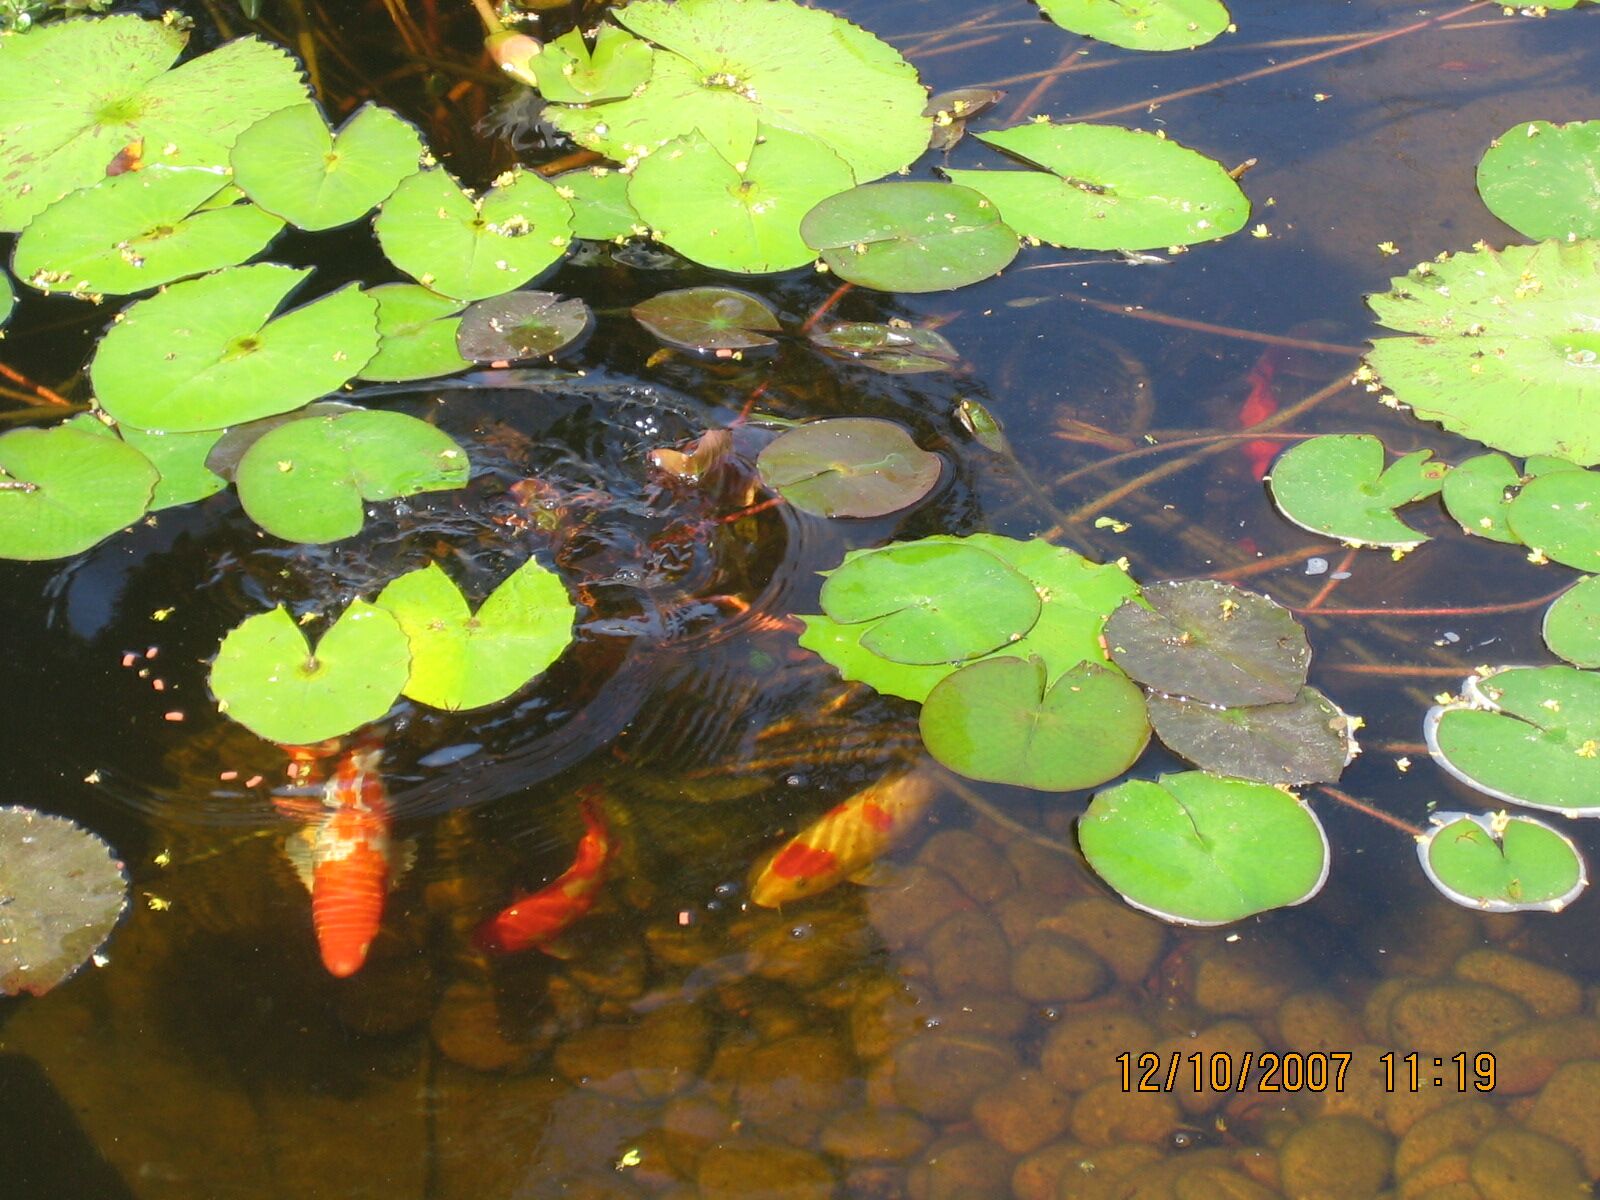 oct12-koi3.jpg |
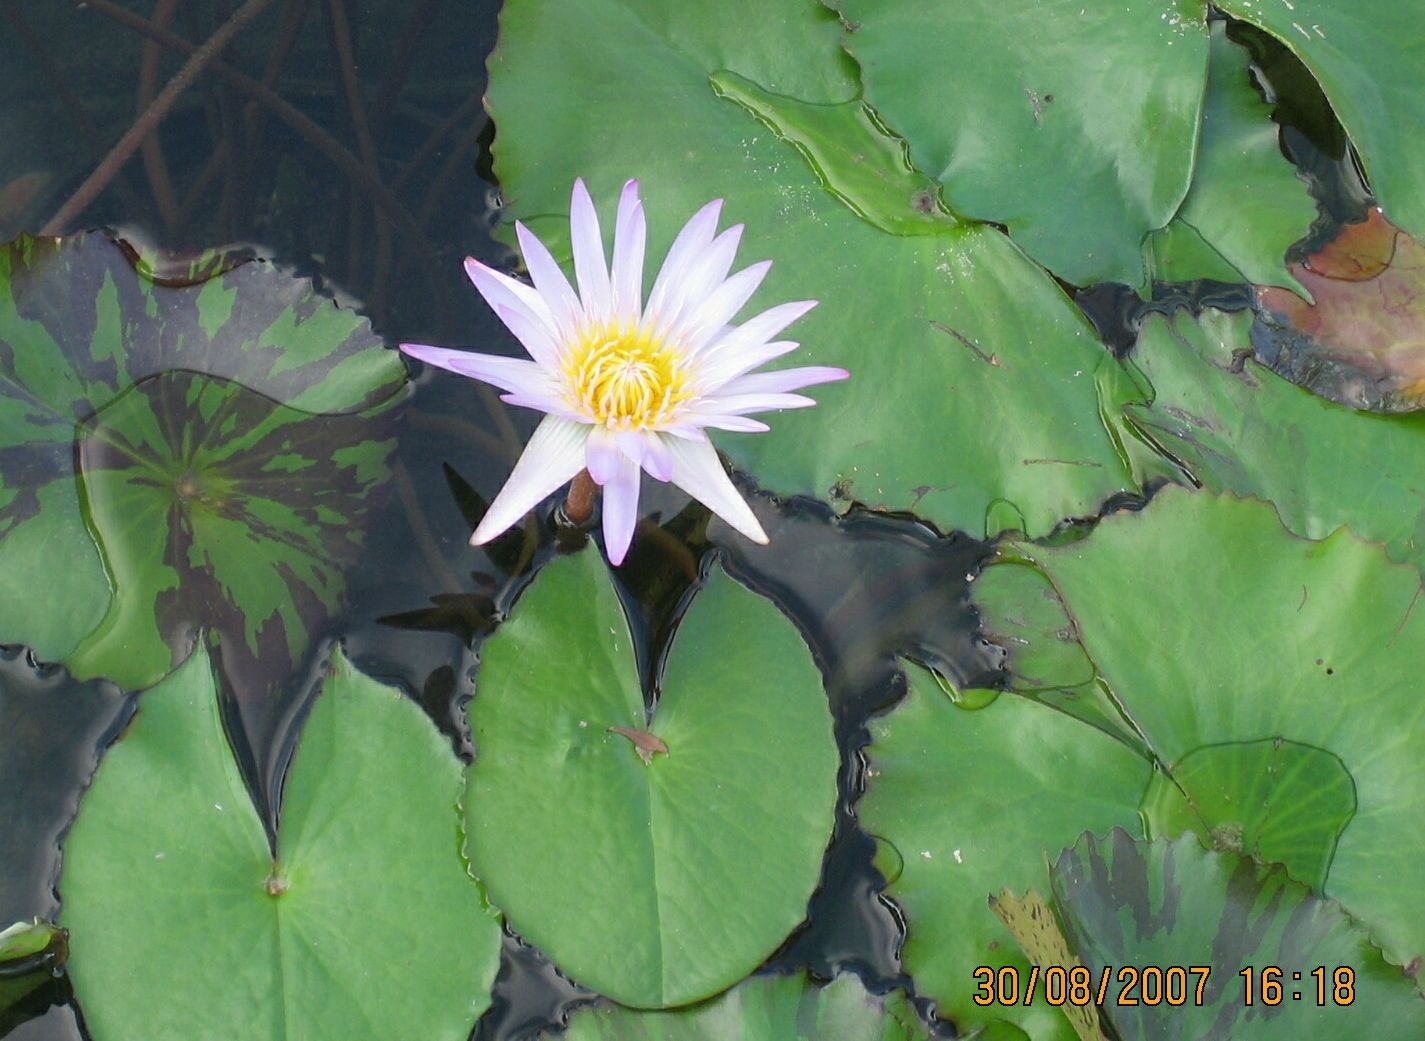
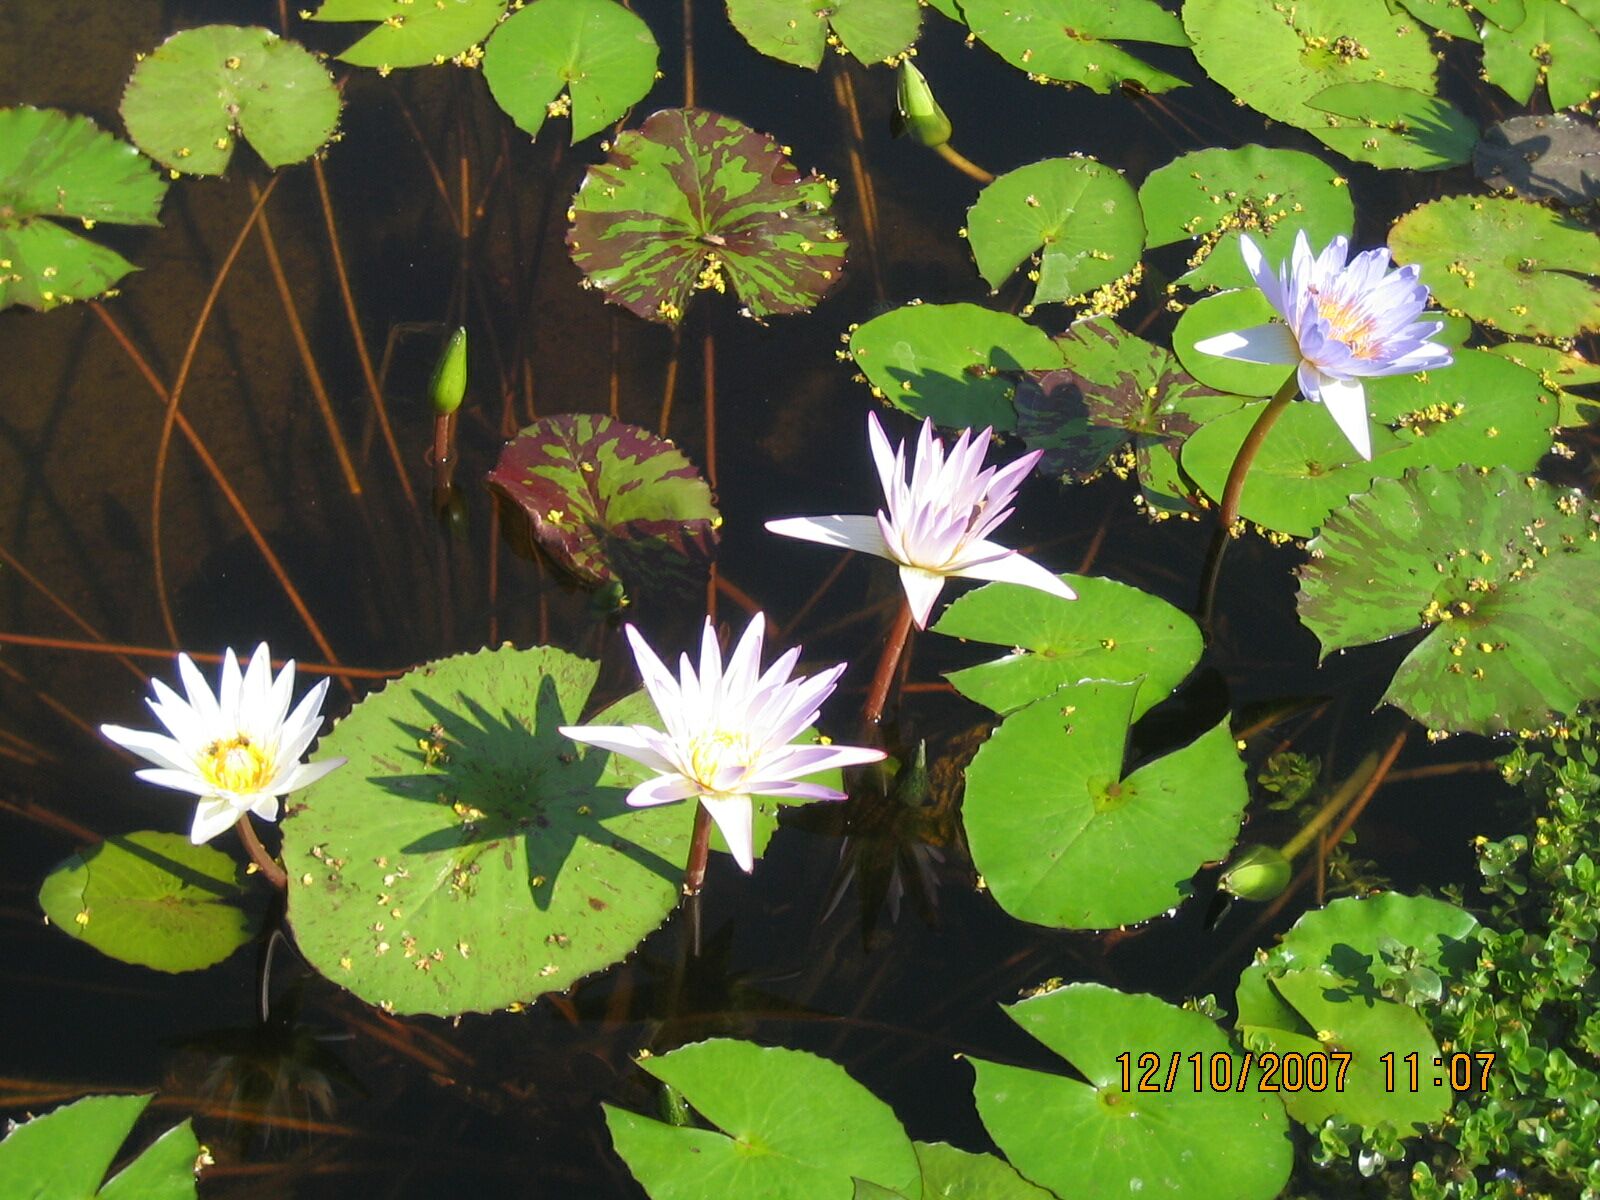 oct12-lilies.jpg |
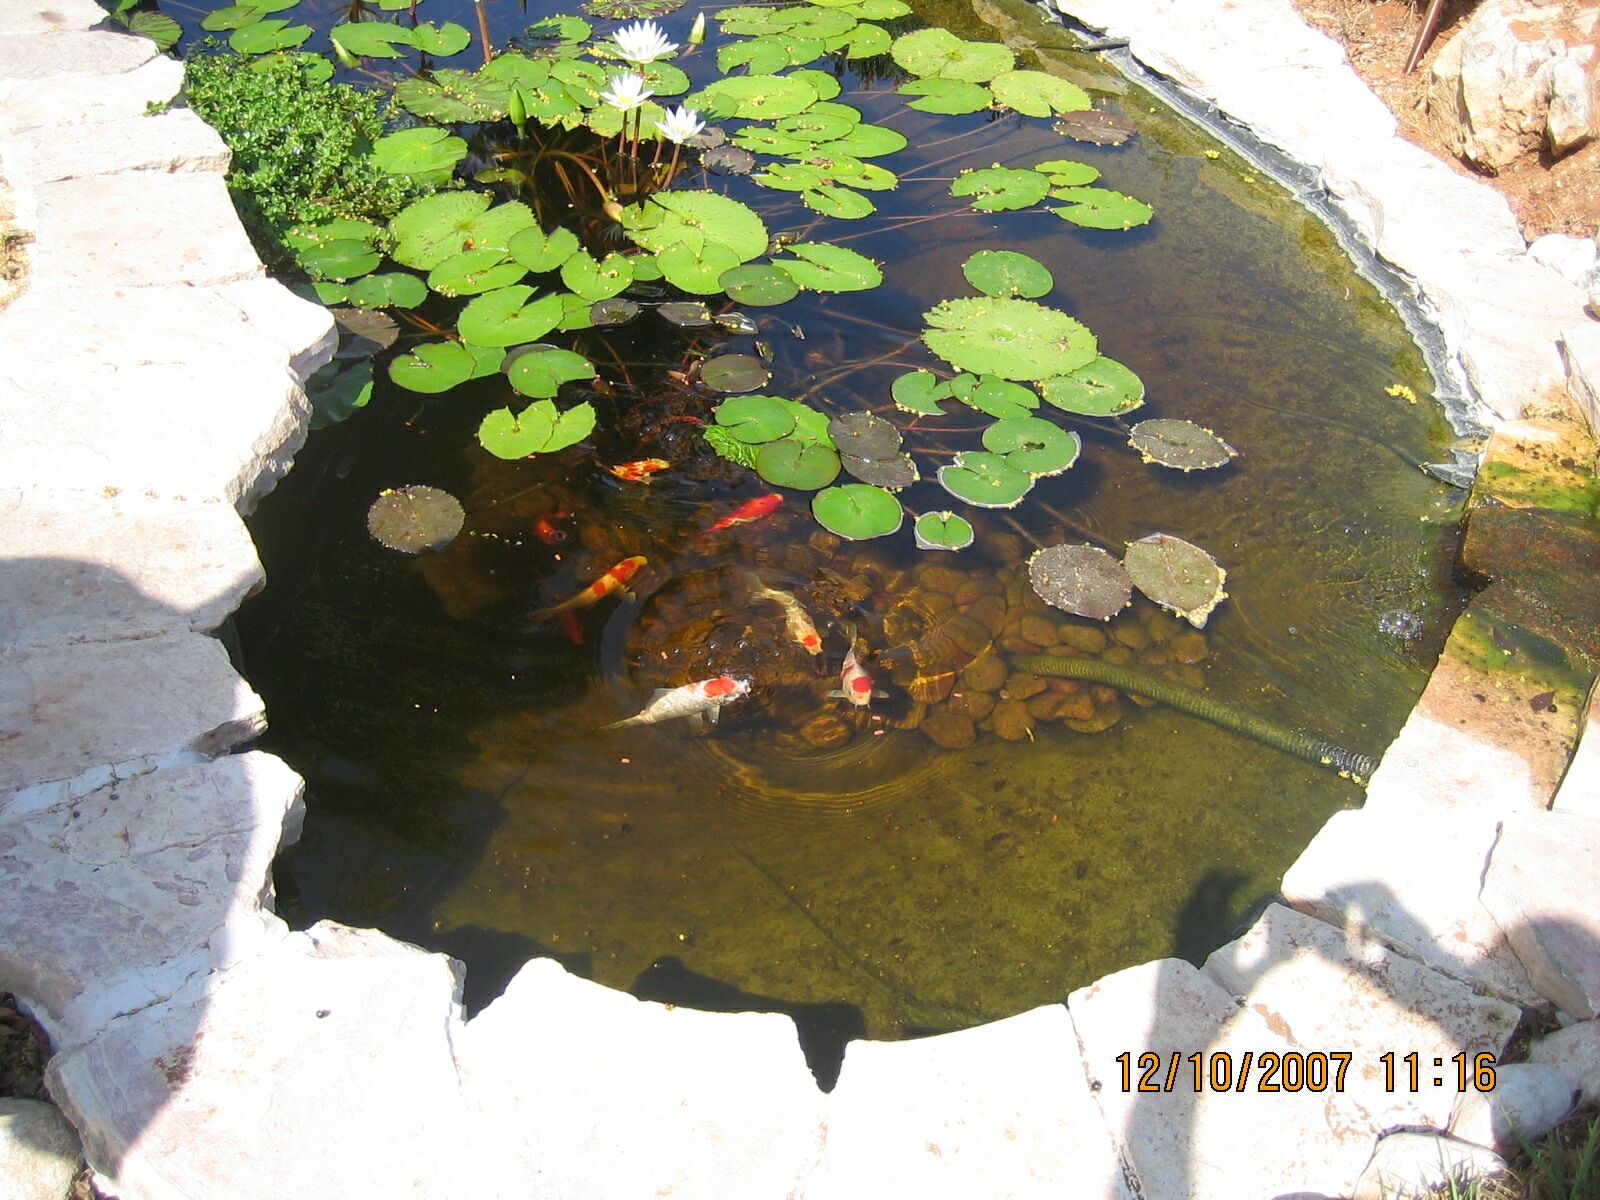
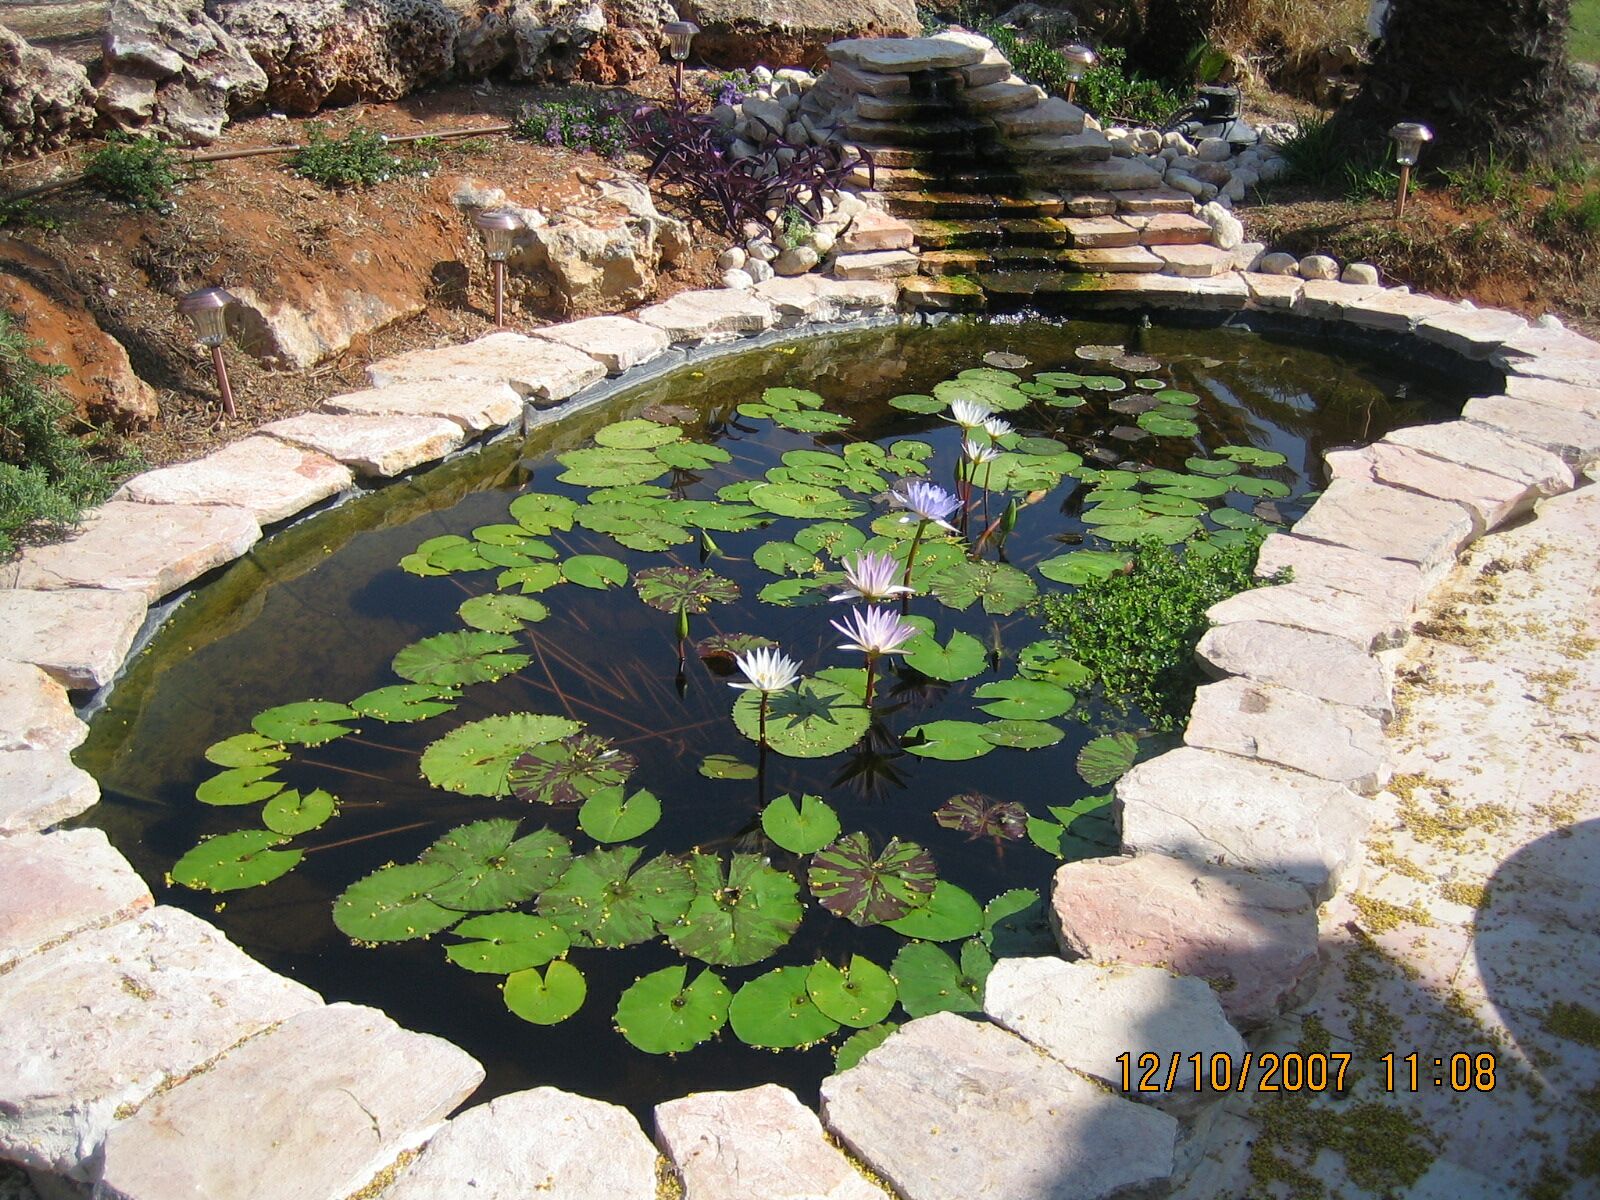 oct12-pond1.jpg |
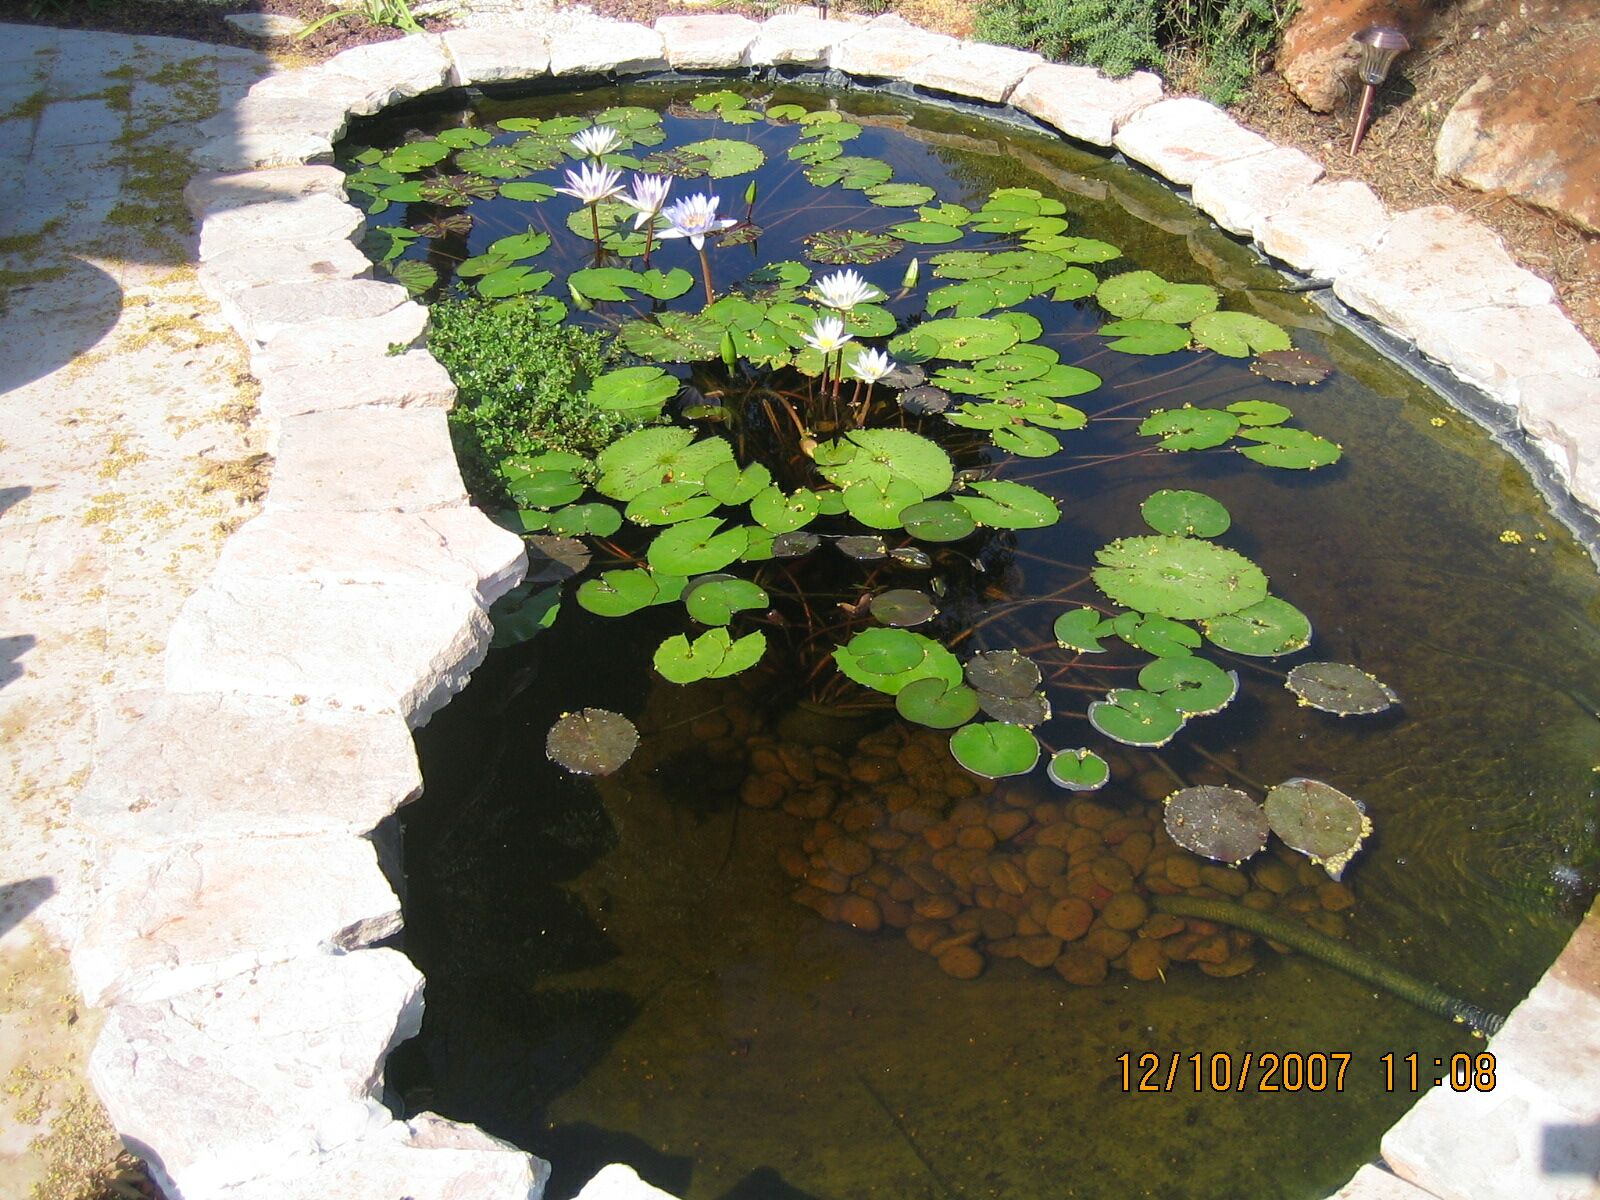 oct12-pond2.jpg |
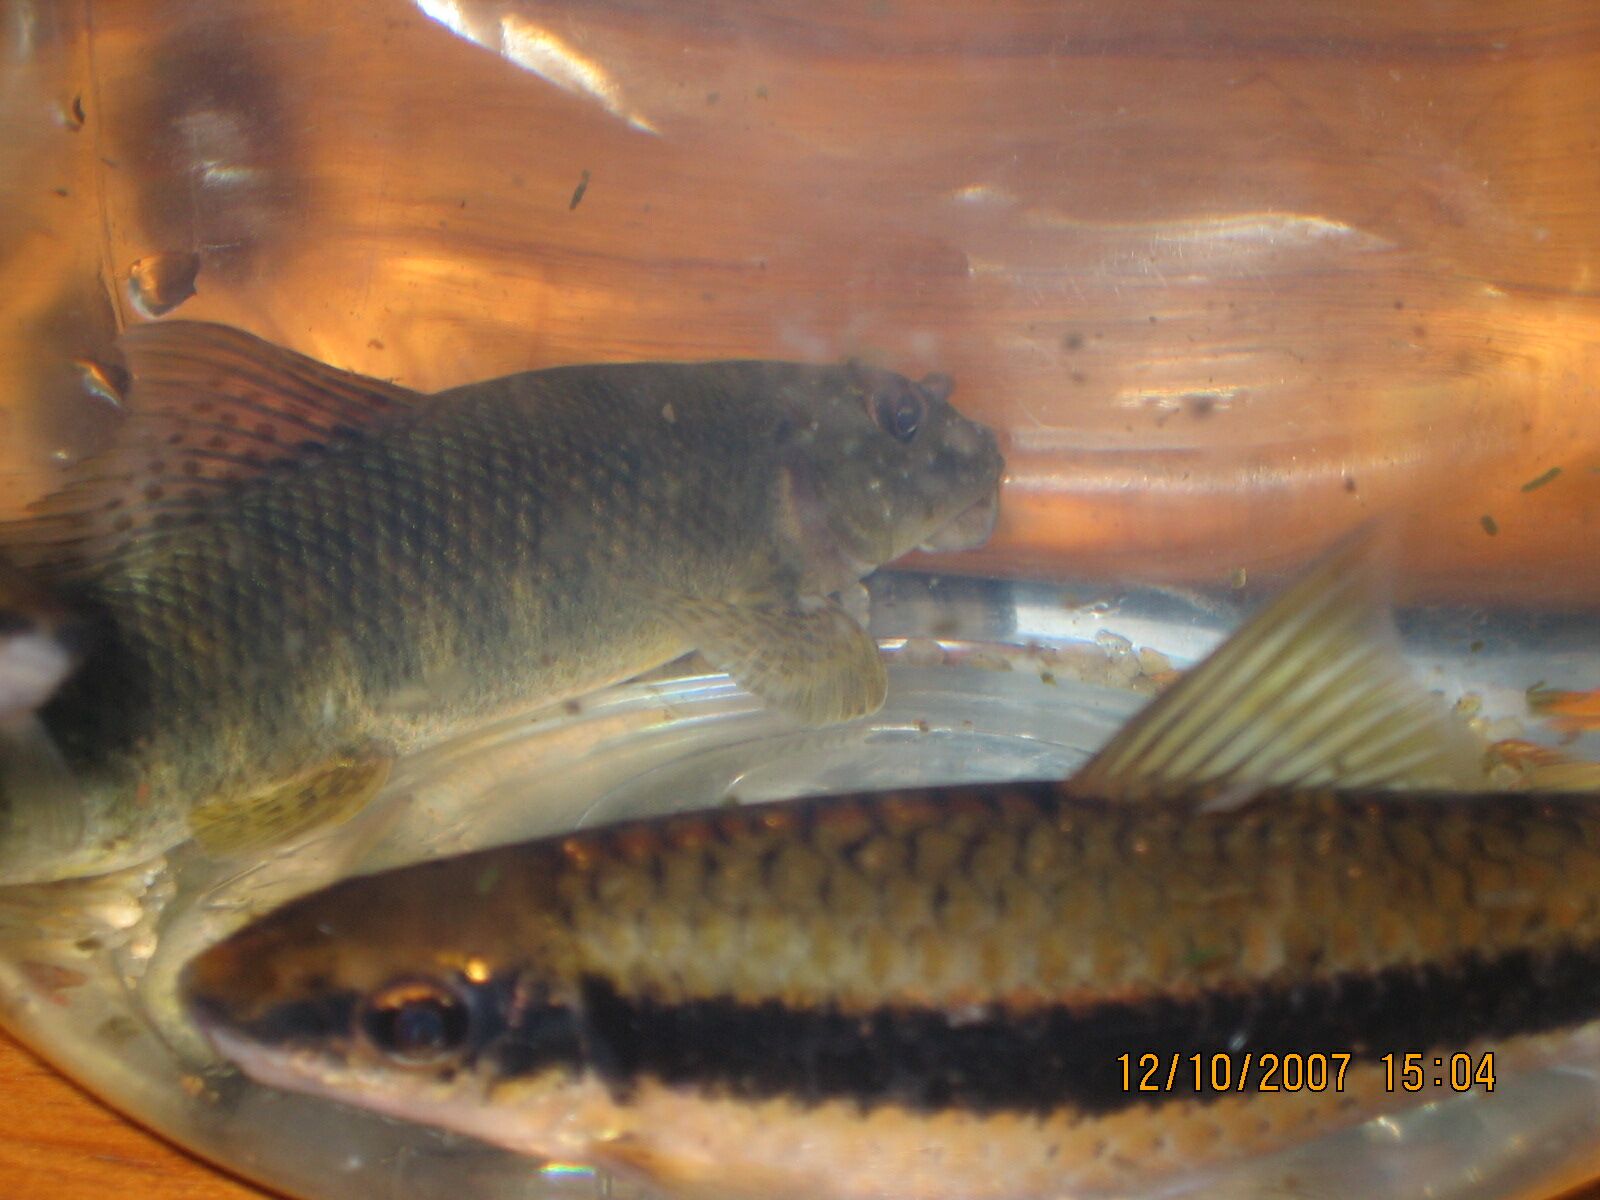 oct12-sae-cae.jpg |
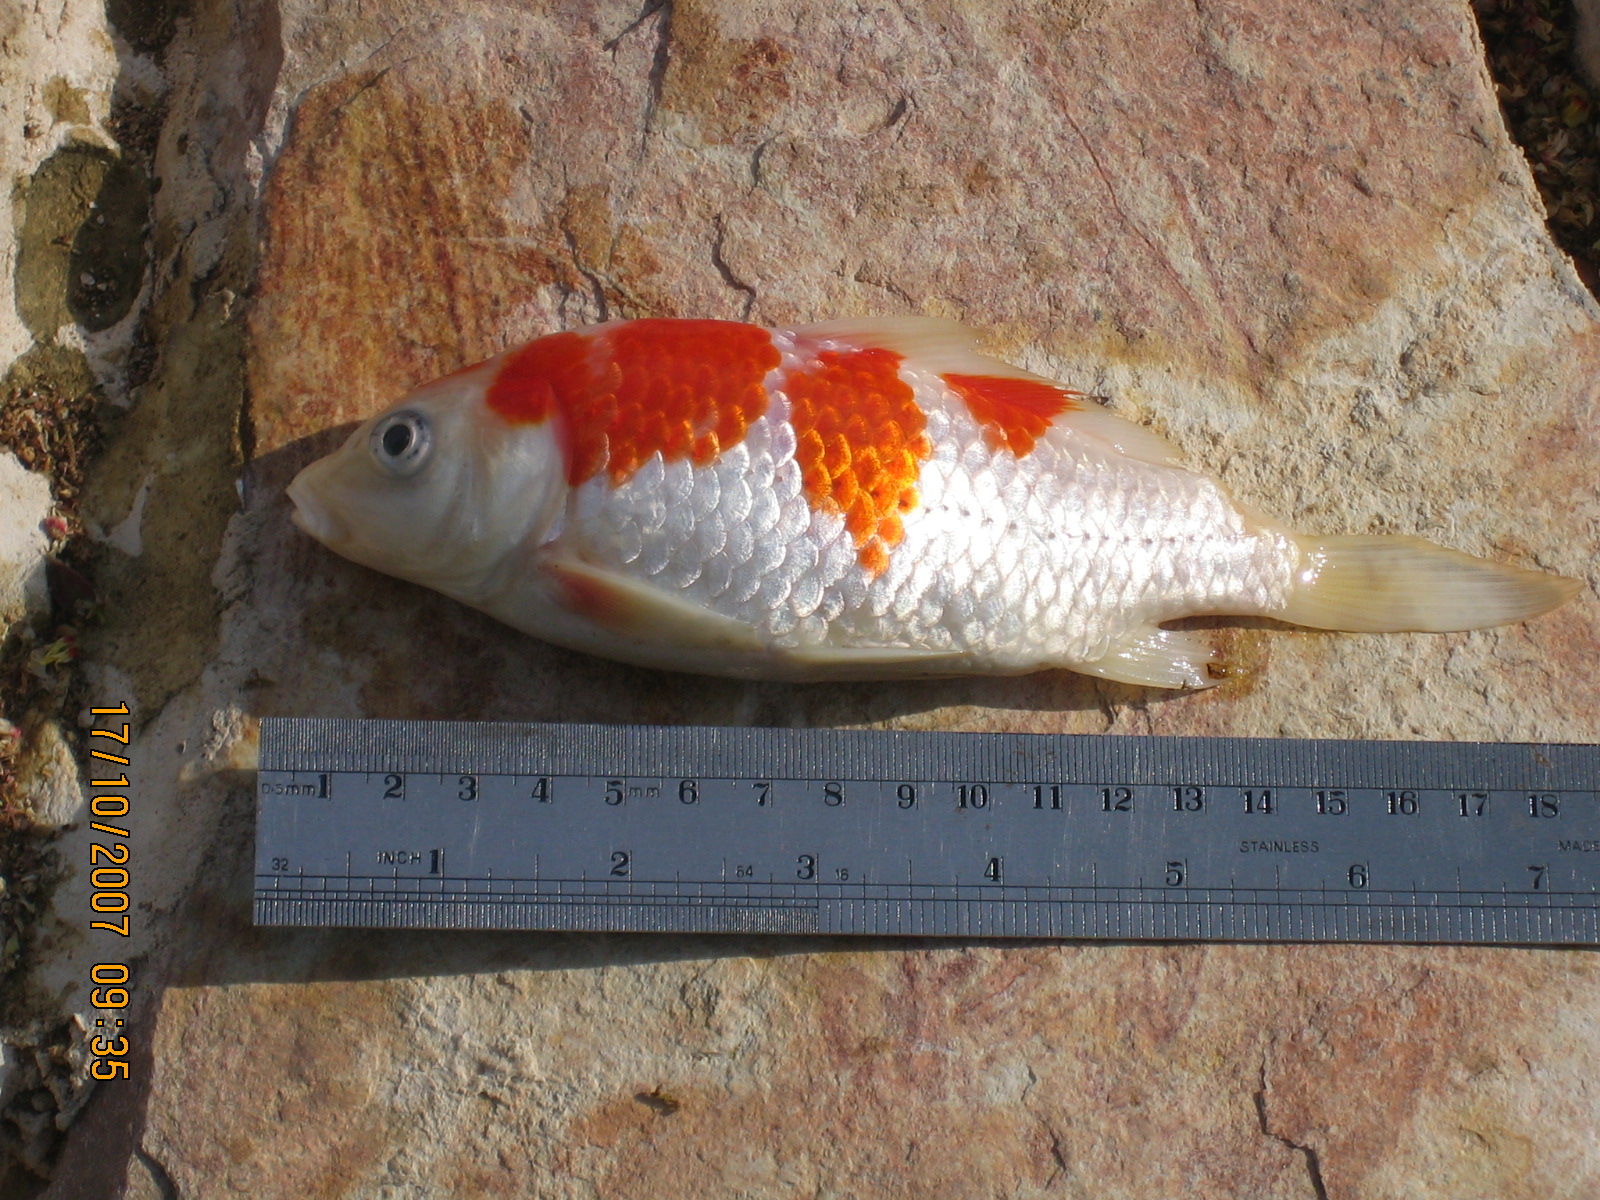 oct17-dead-koi.jpg |
 oct19-dead-koi.jpg |
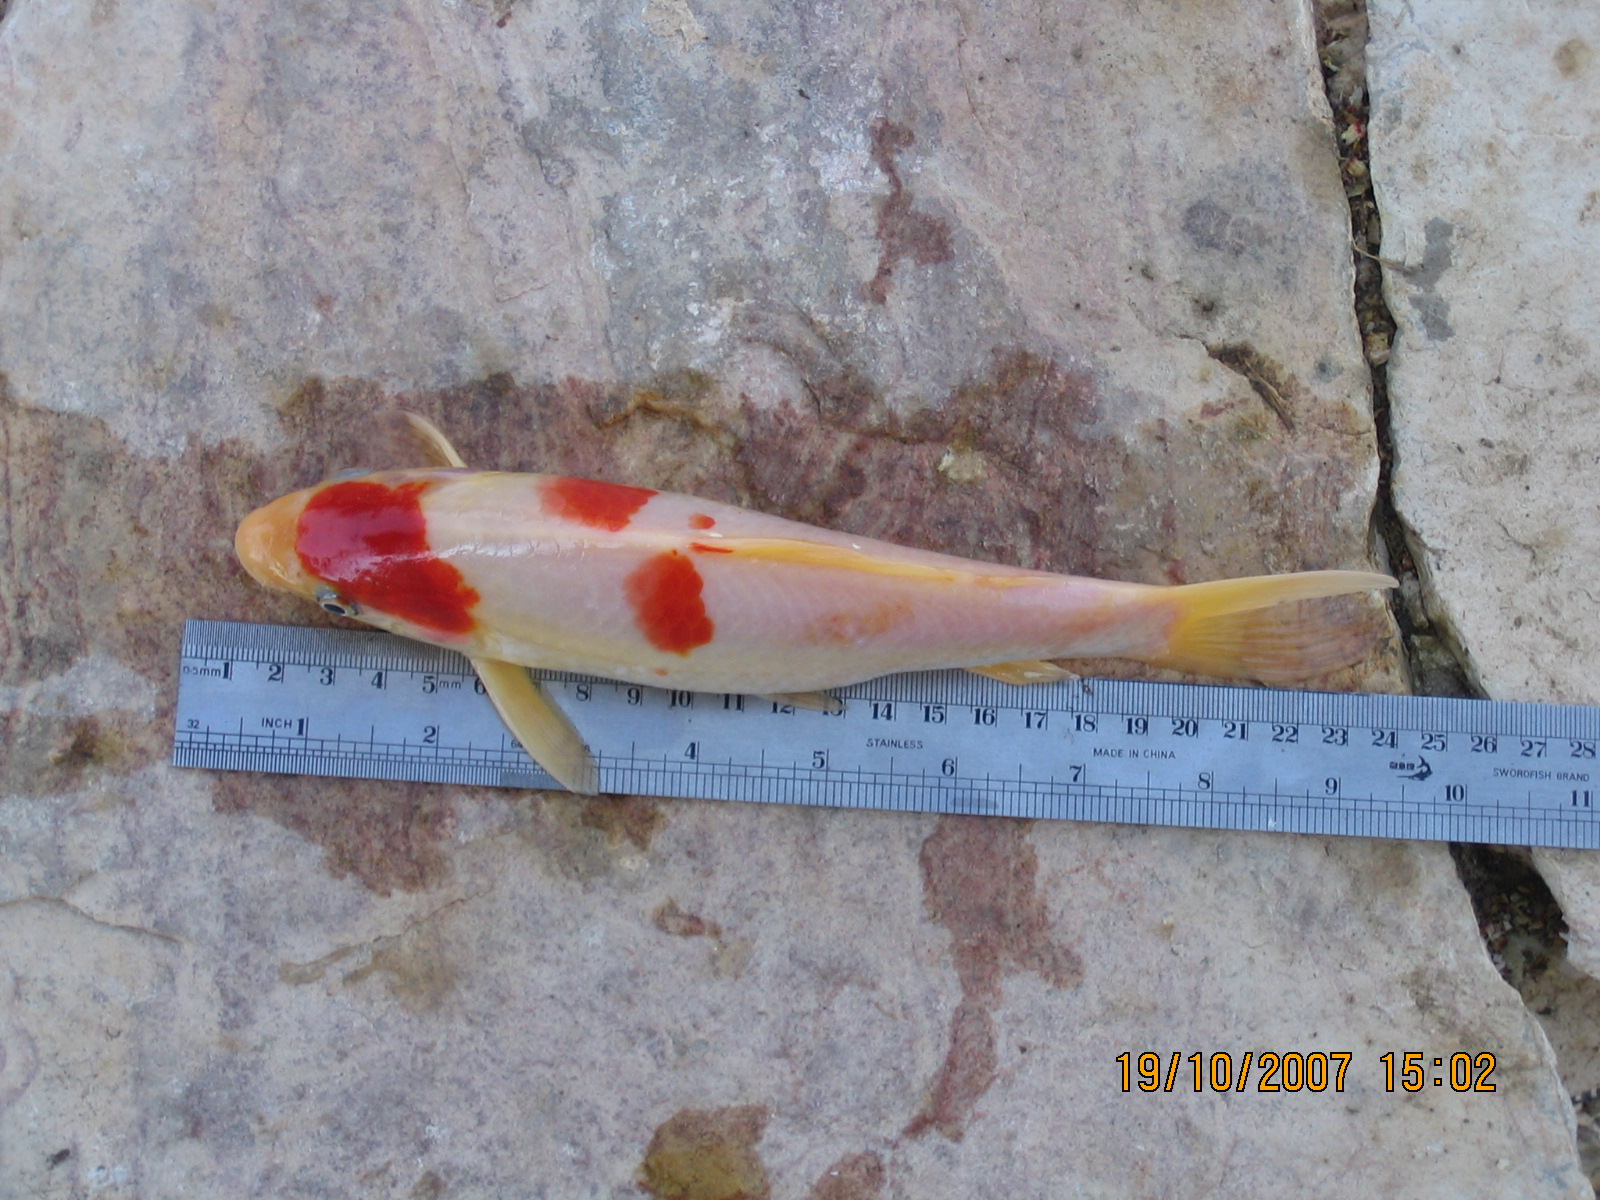 oct19-dead-koi-2.jpg |
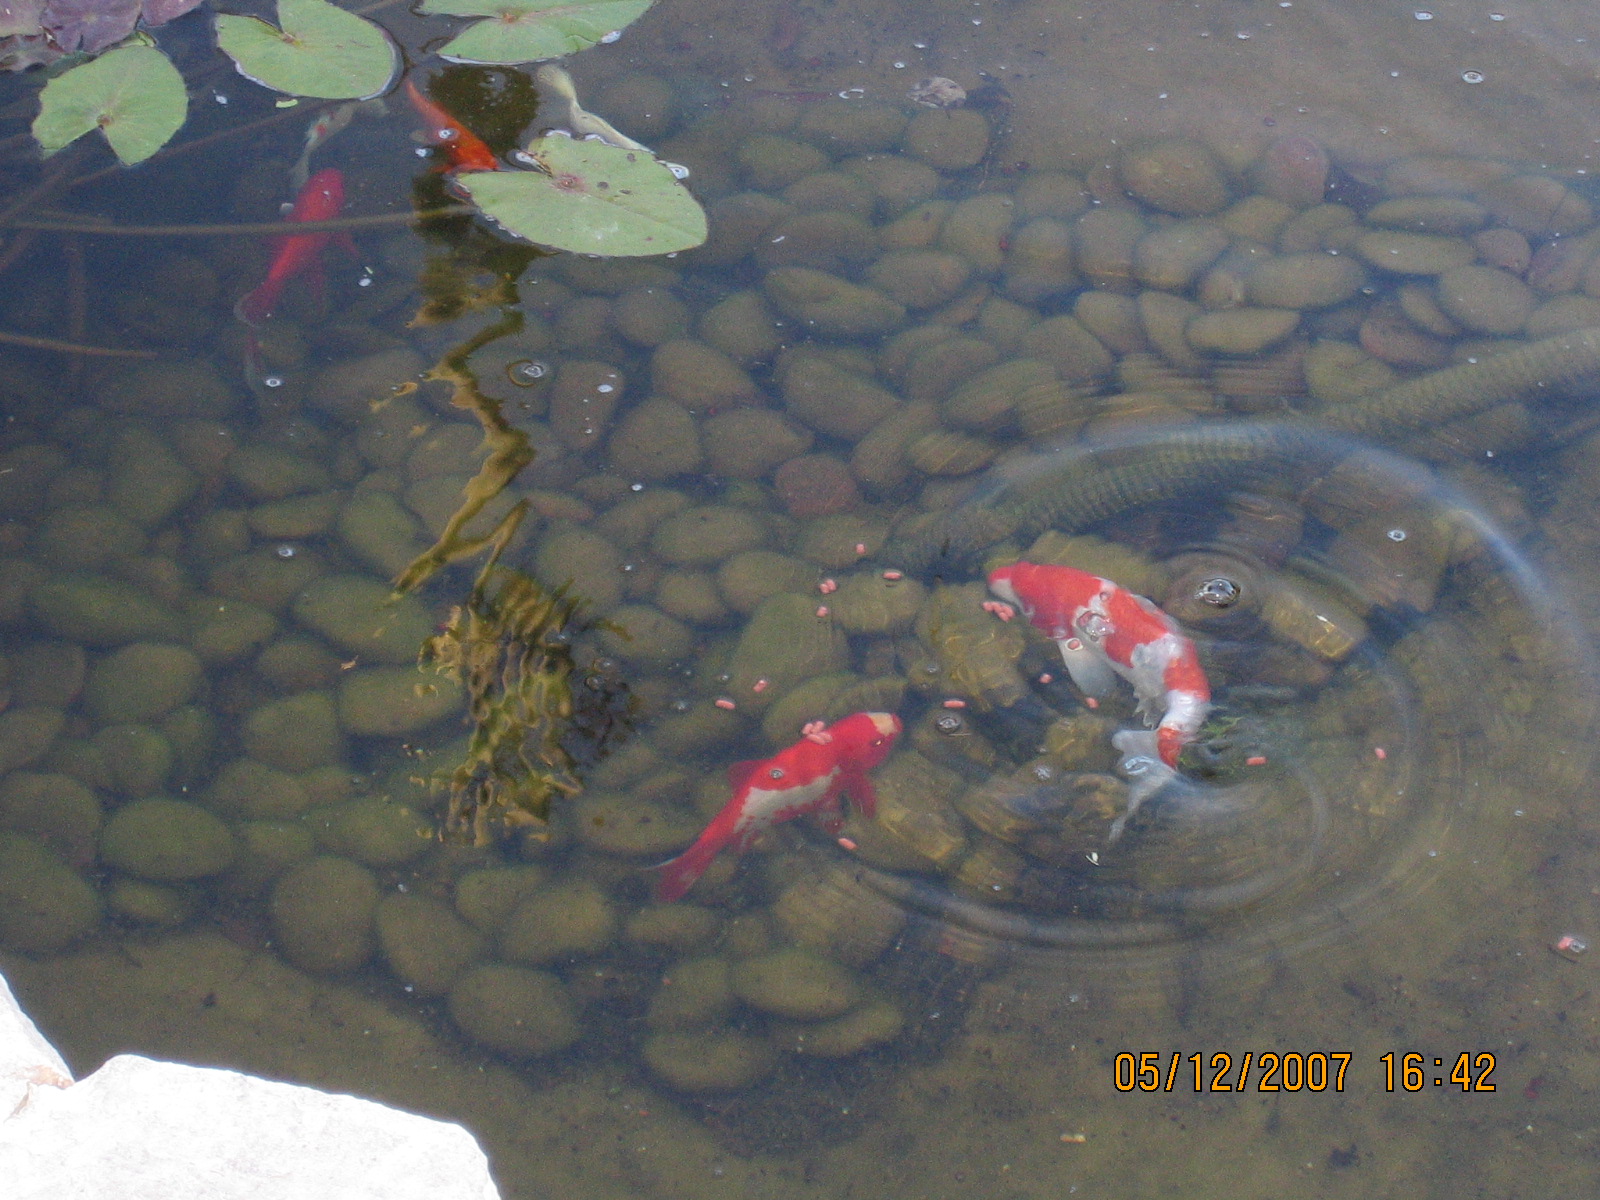 dec5-koi-2.jpg |
 dec5-koi-3.jpg |
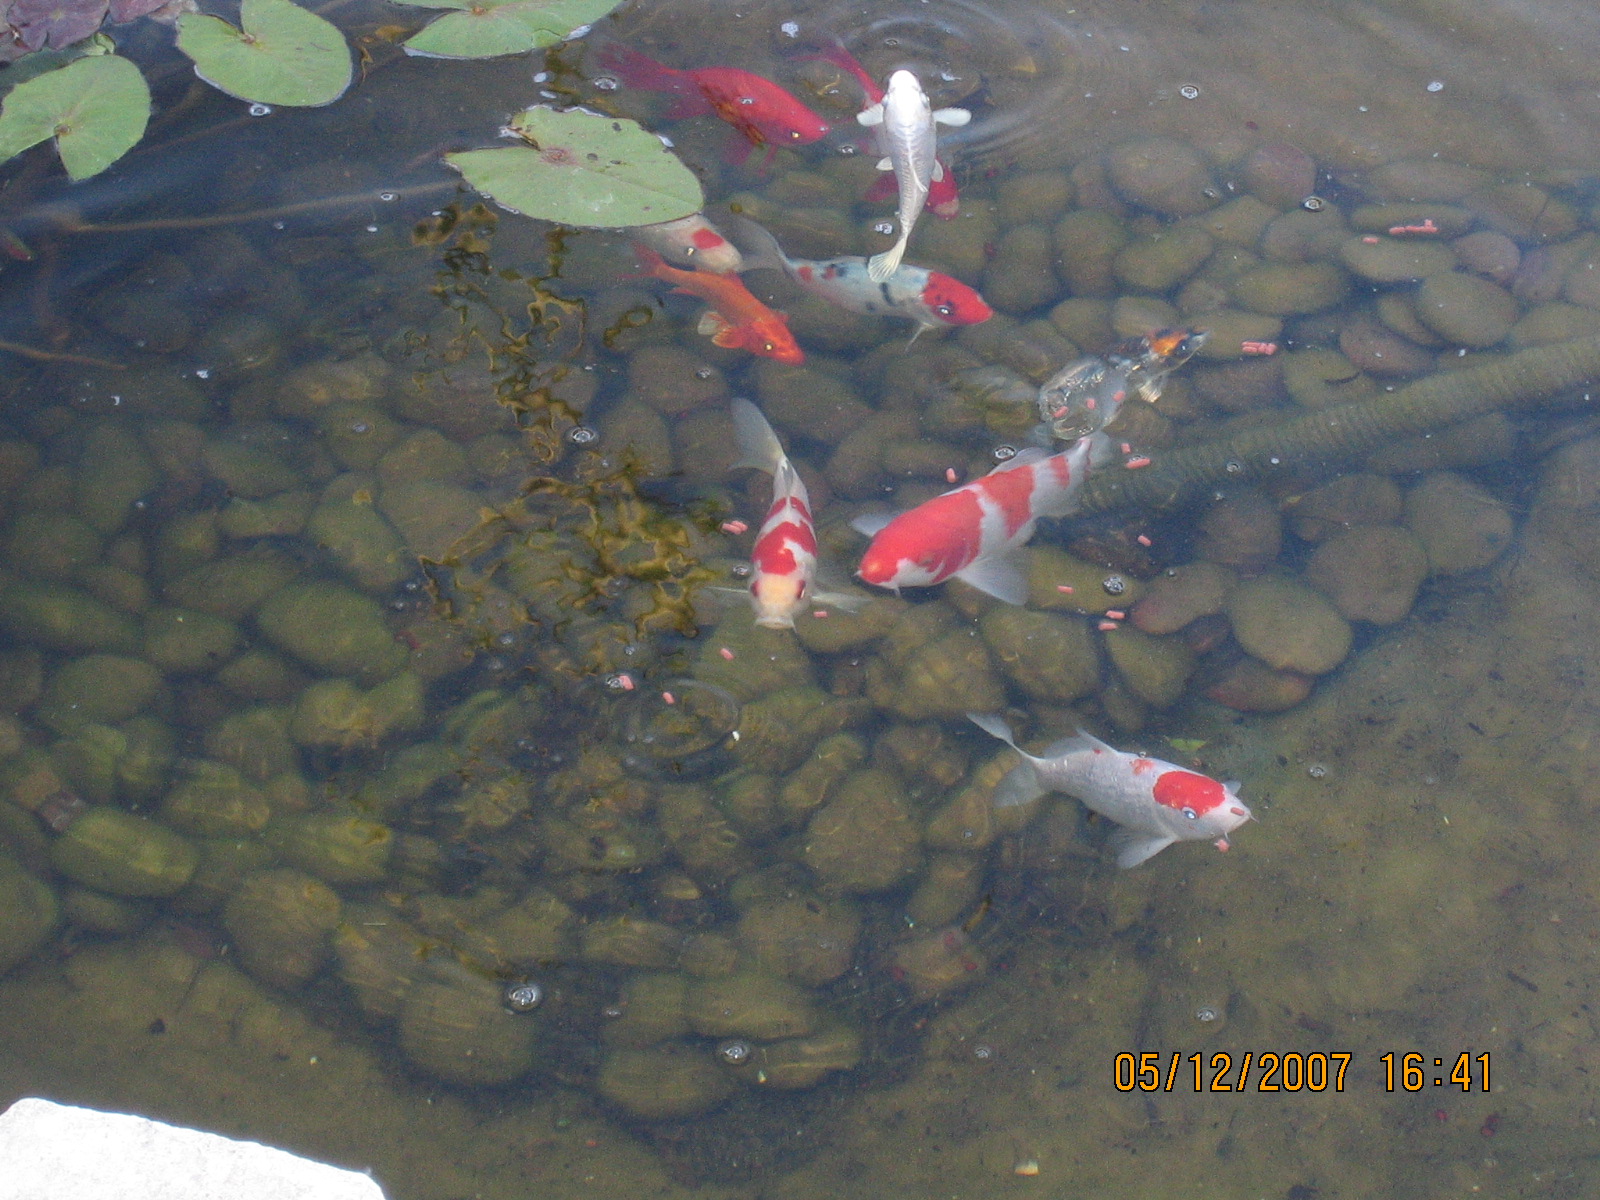 dec5-koi-4.jpg |
Now for the pond equipment I purchased. I checked out various pond and fish
stores in Israel and settled on
Atlantis,
which had the best equipment and the most knowledgeable people from the
numerous stores I researched.
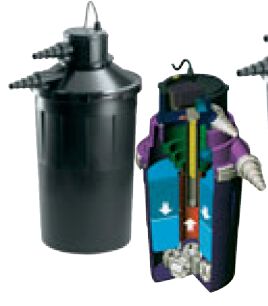
Sera Pond Pressure Filter T25 + UV
Pricing:
UK: 149GBP
IL: $330 (pretty much the same cost as in Europe)
It is rated at max 6000L/hr, but in reality I bought it to handle 2000L/hr, due to the fact that I have strong sunlight with few to no plants and it will be mainly a Koi pond where I intend to keep up to 70cm of Koi.
This filter, I believe, is only available in Europe and is not sold in the US.
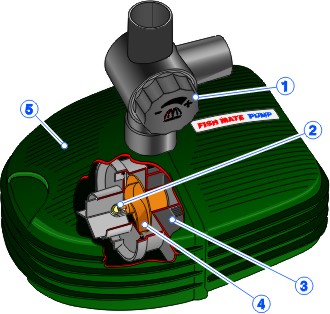
The Fishmate 3000 in Europe is about the same as the Fishmate ANI248 in the US (800GPH). It is rated 3000L/hr but since my waterfall will be 1 meter high, I bought it since it is rated as 2000L/hr at 1 meter height (the US ANI248 delivers 540G at 3'). The cost in Israel is about the same as in Europe, but far more expensive than in the US. I contacted Fishmate (known as Petmate) and asked them if a 110V ANI248 could work on 220V in Europe. Their answer was that without a transformer it would not. I did not want to add a transformer to the design (waterproofing is not easy) so I had to buy the European 3000 model.
I bought 8 meters of the heavy duty 2.5cm ribbed black hose. The cost is slightly more expensive than in Europe and double the cost of a similar hose in the US. I am not sure that the hose in the US is the same quality as those available in Europe.
Since my hole has sharp edges even after the cement overcoat, I decided
to add in a geothermal blanket that would rest between the walls of the
hole and the liner itself. Here is a link to
Garden Supermarket
in the US and to
Pondkeeper
in the UK.
Pricing:
UK: 24GBP
US: $40
IL: $40
I installed a water proof electrical box near my waterfall and filter. It is attached
to the back of a palm tree so no one can see it. It has 4 outlets in two rows. I also
installed external cutoff switches on the outside for each of the two rows - this way
I can easily turn off the power without having to unscrew and open the box nor go to the circuit
breaker panel and cut the power.
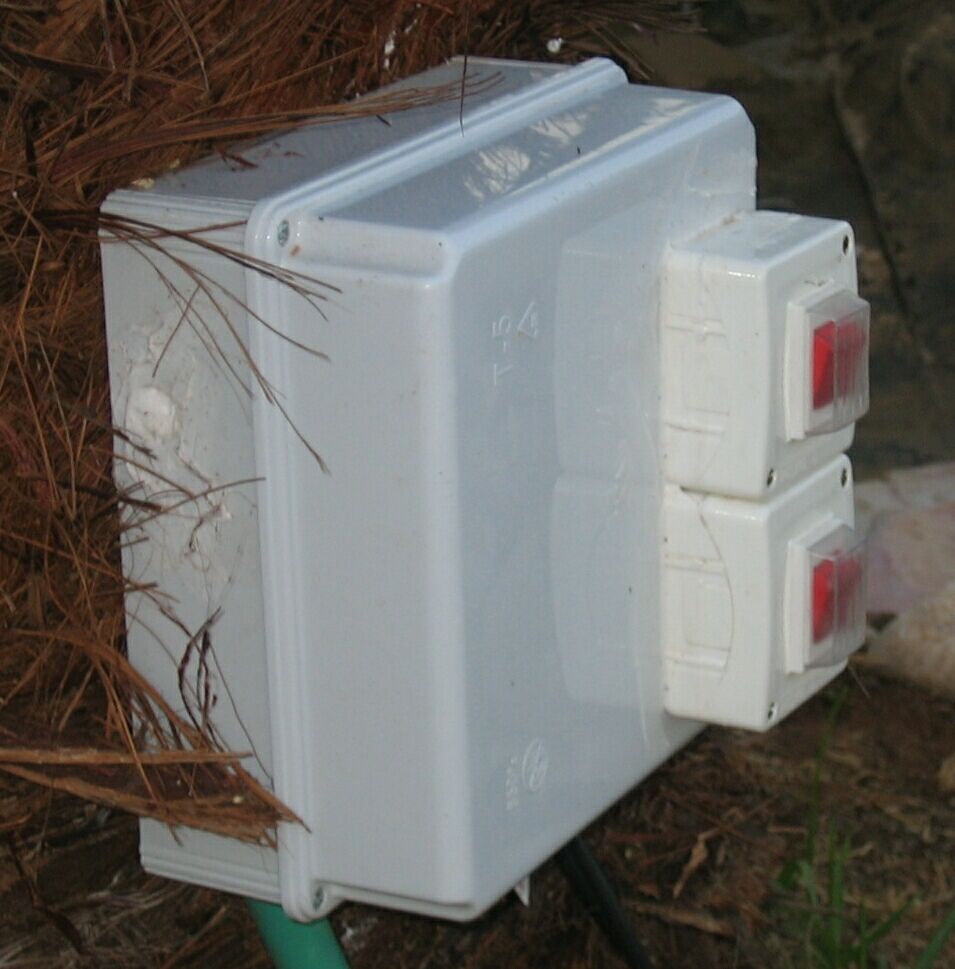
I connected the pump to one row and the UV filter to another row. This way, in the
winter I can turn off the UV filter when there is no sun and still leave the pump running.
I have two spare outlets if I decide to add lighting or anything else in the future.
Cost: $125
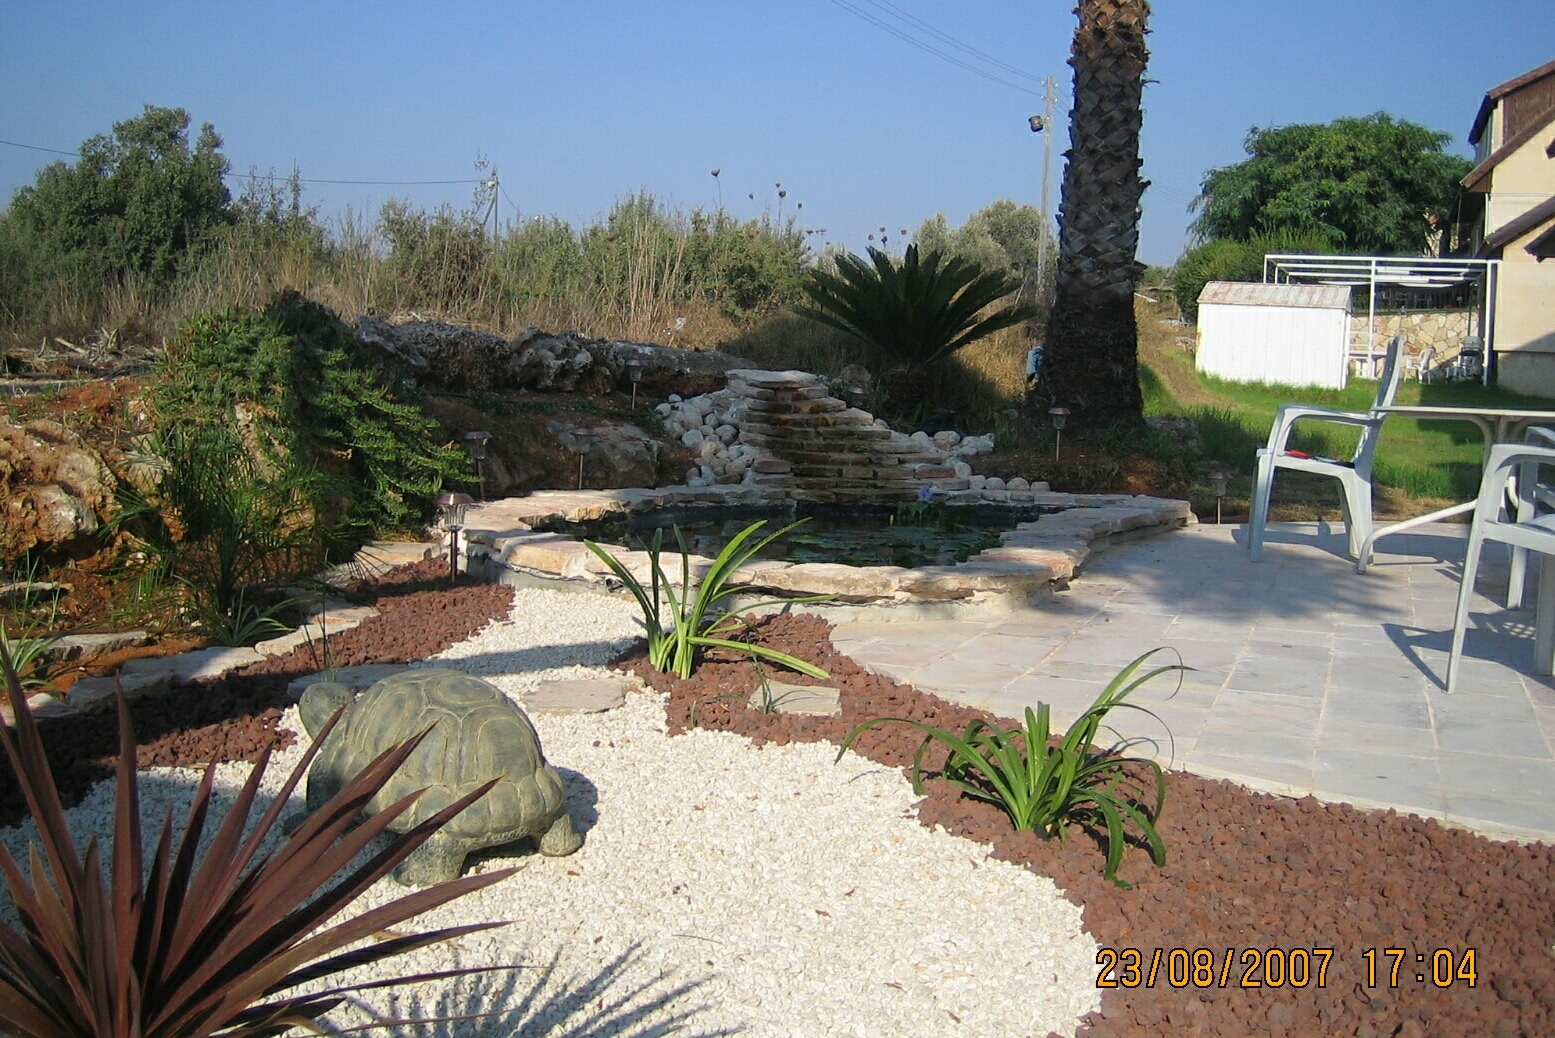
I bought 3 large plastic pond ornaments that resemble a log with plants. This will
give the fish a place to hide.

I bought the Penn-plax DGSP1 (Super Size) model,
which would be huge in an aquarium but fits nicely inside the pond. This is available in the US at
HerpSupplies,
and at Dag Hay in Herzelia Pituach in Israel.
Pricing:
US: $135 (3x $45)
IL: $139
I also bought 80kg (176 lb) of
reddish polished riverbed rocks
(from a company called Tufit in Israel)
to place at the bottom of the pond so as to cover the pump hose and electrical cable
as well as to anchor the plants I am buying.
Pricing:
IL: $100
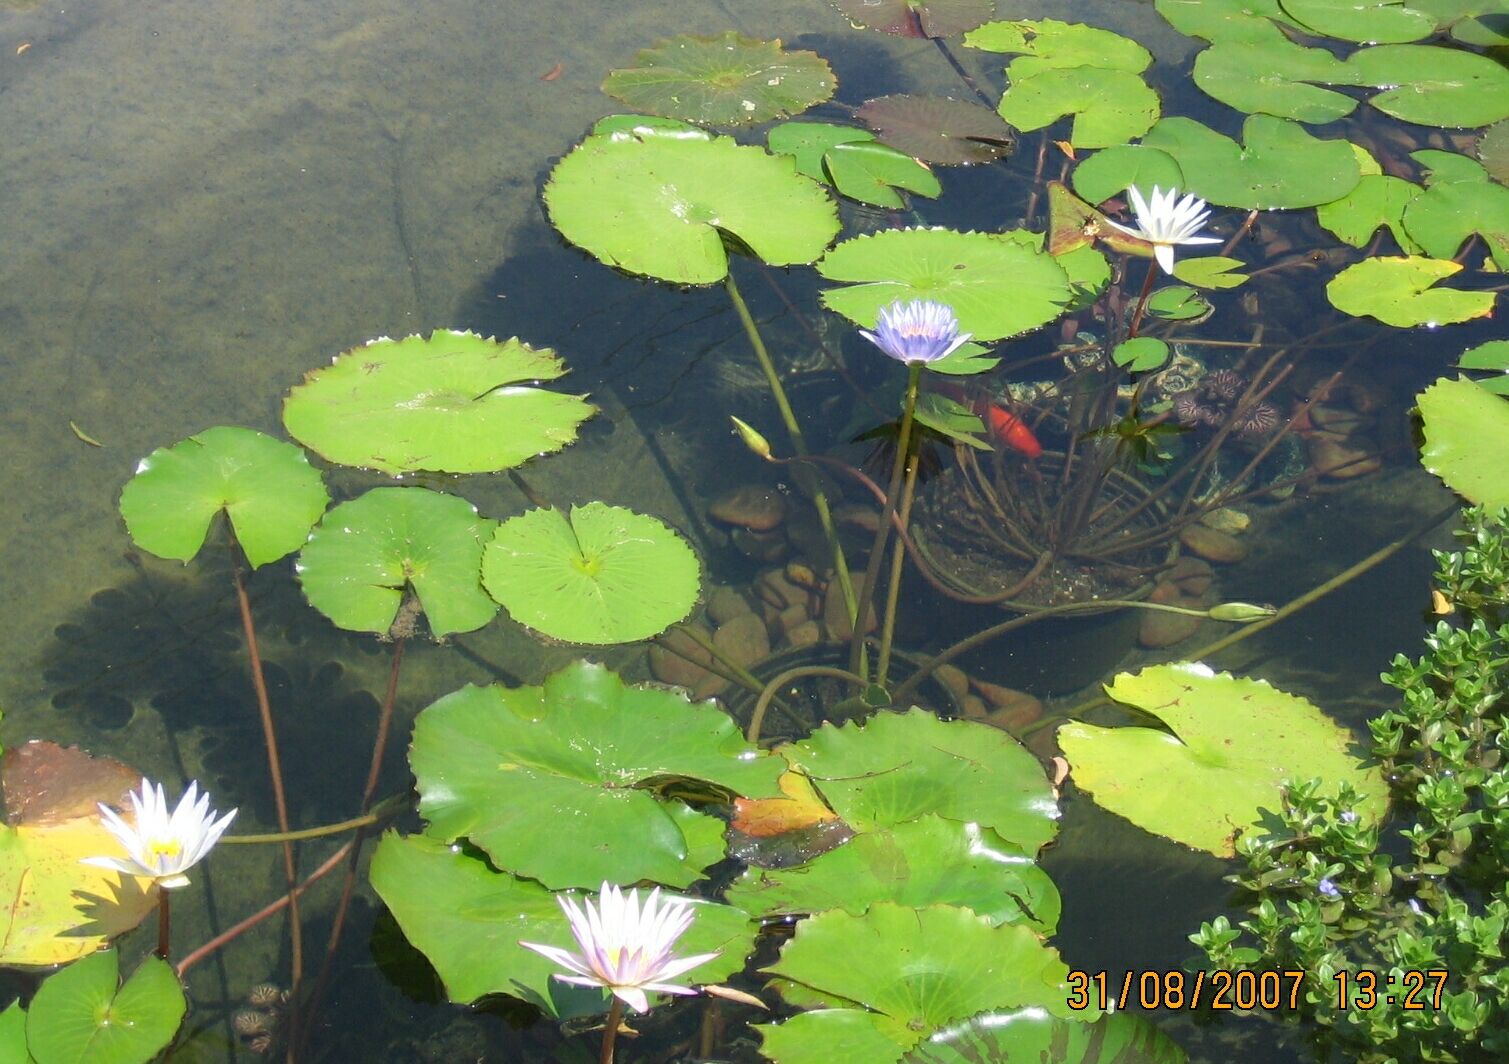
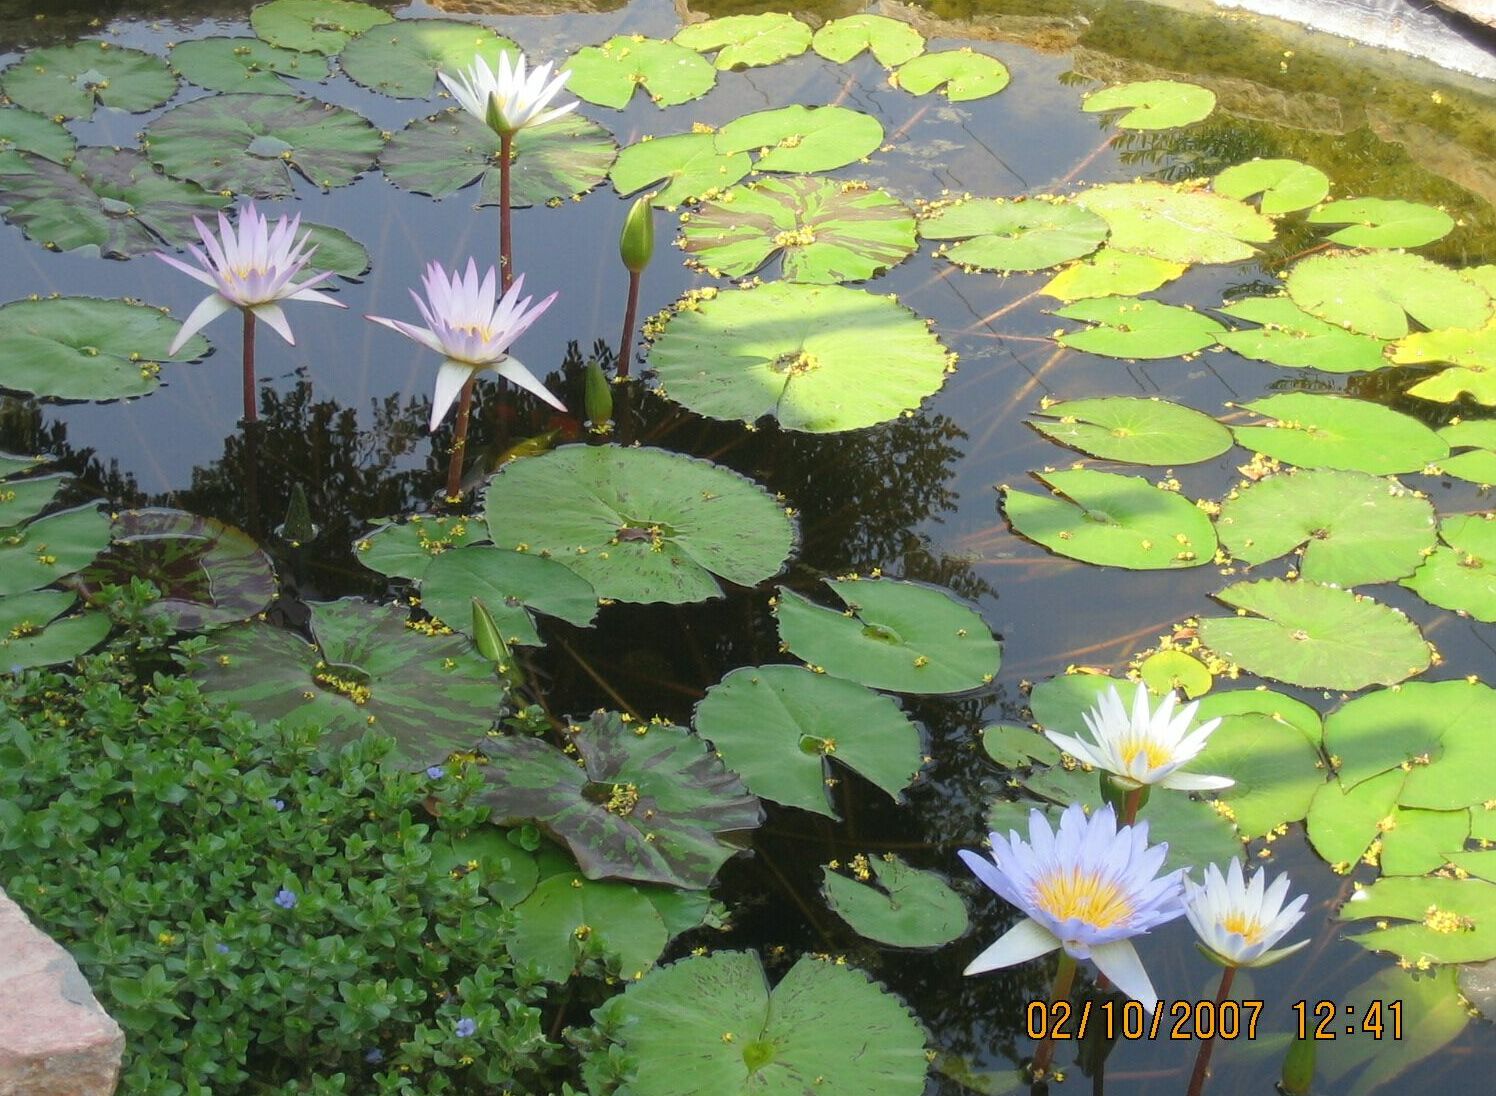
All water plants were bought from Li-Noi in Moshav Sede Yitzchak.
Where I bought fish in Israel
| Item name | Israel cost | US cost |
|---|---|---|
| Filter | $330 | $300 |
| Pump | $170 | $92 |
| Hose | $48 | $23 |
| PVC liner | $200 | $171 |
| Underlay | $40 | $40 |
| Lighting | $52 | $52 |
| Electrical system | $200 | $200 |
| Ornaments | $239 | $235 |
| Plants | $100 | $130 |
| Fish | $57 | $130 |
| Brick contractor | $1100 | $1100 |
| Total | $2536 | $2473 |
In addition, I invested about 100 hours of my own time into building this pond.